【How to make a world:Installation level vol.1】Set up your account and world


Introduction
Welcome to the world of Vket Cloud!
Vket Cloud is a metaverse creation tool that anyone can enter in their browser.
Anyone can use Unity and Vket Cloud SDK to create a world like the video!
In this article, we will explain the preparations necessary for creating a world on Vket Cloud.
What you need
Personal computer (PC)
A PC with specs that can run “Unity” is required. Either
windows/mac is acceptable. If you want to do full-blown development, a desktop PC is recommended over a laptop!
Reference: System requirements for Unity
A mouse with a wheel is recommended. It is convenient for smooth operation!
Keyboard
A normal keyboard will do. Having a numeric keypad is useful when doing 3D modeling.
STEP0. If you do not have a Vket Account
To use Vket Cloud, you need to register a Vket Account .
* Vket Account… A common account that connects Vket services with one account
① Access the Vket Cloud official website ( https://cloud.vket.com ) and press the “Sign up” button in the upper right.

➁A screen like this will be displayed. Press the "Login with Google" button and select the Google account you want to associate with your Vket account.

③ You will be taken to the signup screen. Enter your information such as ID and name, and press the "Register" button to complete Vket account registration !
STEP1. Vket Cloud user registration
Once you have your Vket Account ready, let's move on to registering on the Vket Cloud official website !
①Press the "Sign up" button on the upper right of the Vket Cloud official website ( https://cloud.vket.com ).
*If you are not logged in to your Vket account, you will be redirected to the account login screen, so please log in.
➁ A new registration screen will appear where you can enter your team ID and team name.
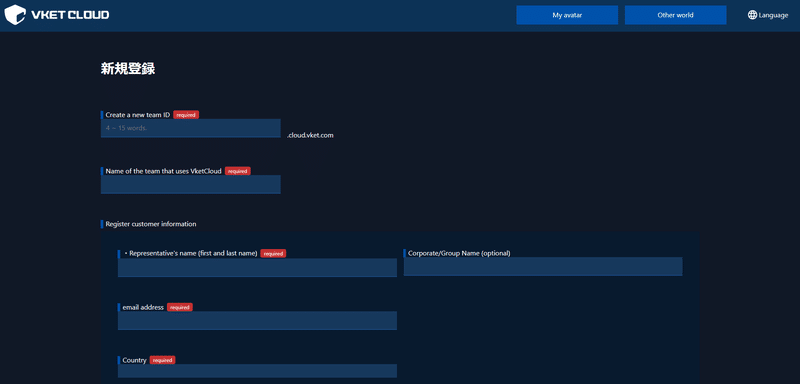
Enter the required information and press Register.
From the "My Page" displayed after registration, you can register world information, register TOP page, manage user information, etc.

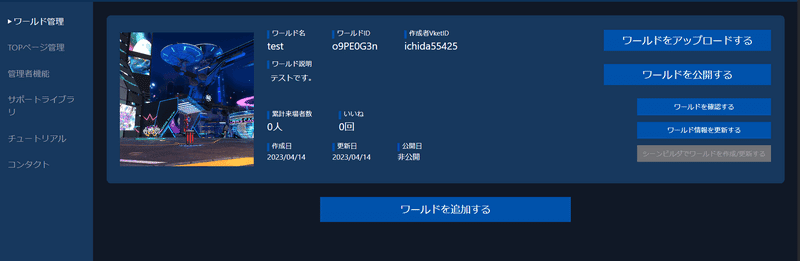
STEP2. Register world information from My Page
In order to publish the created world, it is necessary to register the world information from My Page.
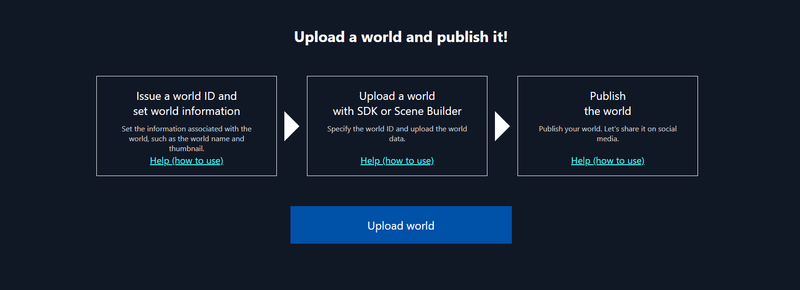
① Click the "Upload World" button on My Page.
➁ Enter the world name, description, and world thumbnail.
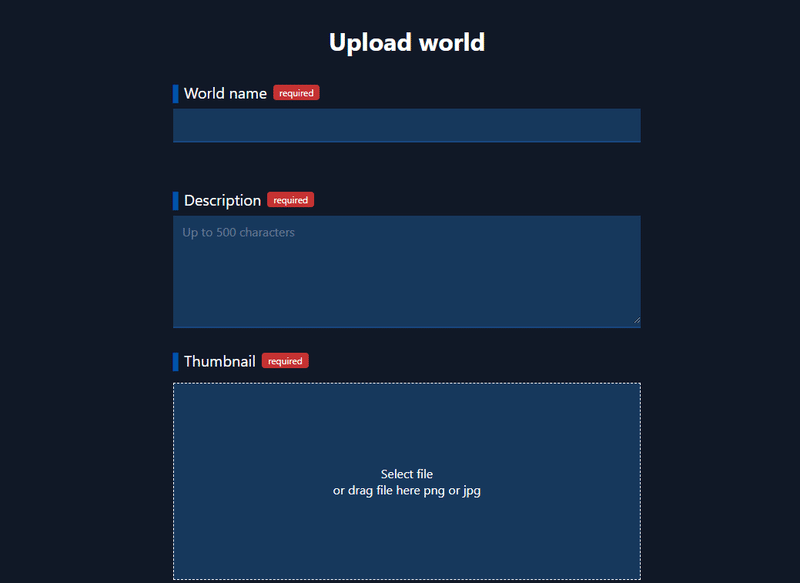
③ When you save the entered information, the world information will be registered!
The following work is required before publishing the world.
・Introduce Vket Cloud SDK to Unity (tutorial: Introduction of VketCloudSDK )
・Upload the contents of the world from Unity
(tutorial: Output and check in the browser )
・Press the "Publish the world" button
We will explain each step in other articles.
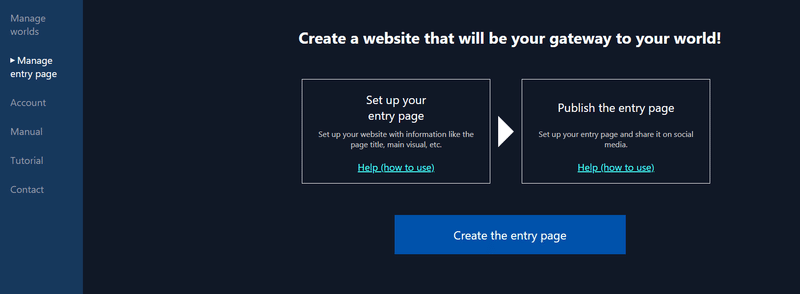
TIPS: How to register the entry page
In Vket Cloud, you can create an "entry page" that can list the created worlds for free.
You can freely change the text and images of the entry page from My Page.

Click "Manage entry page" on the left menu of My Page and press the "Create the entry page" button.
Please set the entry page title, page description, and main visual.
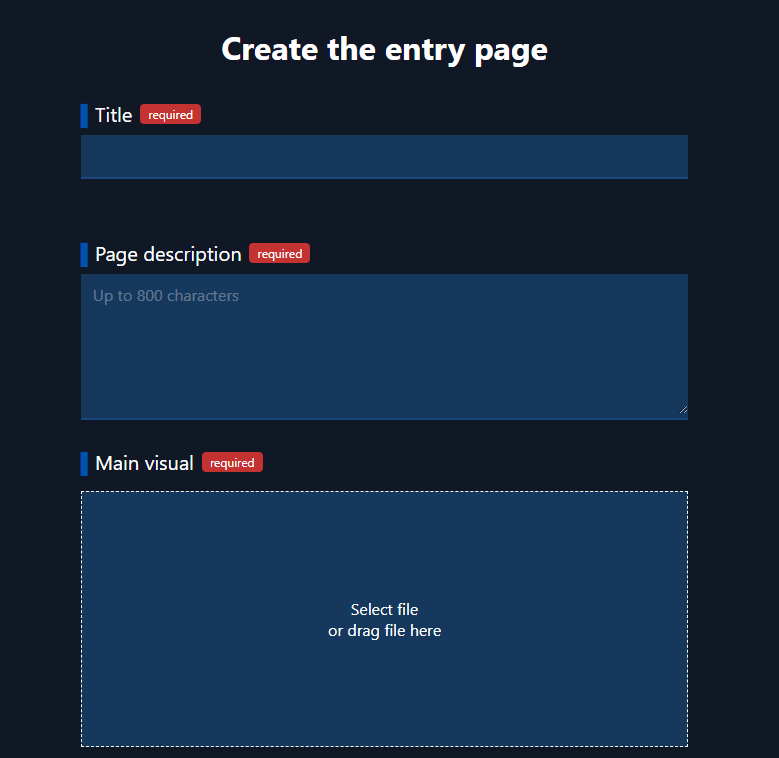
Registration of entry page information is complete!
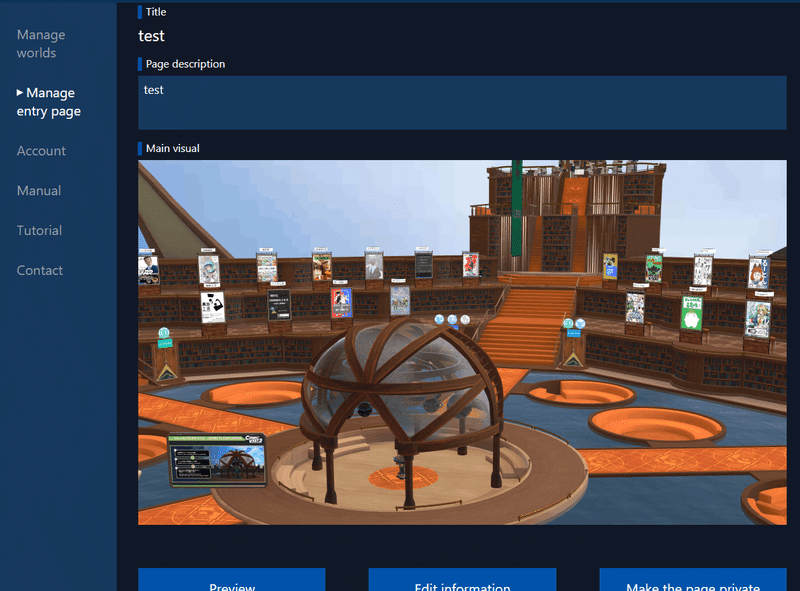
Select "Preview" to see how it looks, then select "Publish the page" to publish it.
This is the end of Preparation vol.1! Good job for today.
Next time, we will finally introduce Vket Cloud to Unity.
> Preparation vol.2 (2 times in total) Install Unity and VketCloud SDK