【Unity】How to use your own avatar in VRChat - Beginner guide

VRChat is a virtual space platform where you can have enjoyable time with your friends. One of the primary attractions of the platform is the use of avatars that express yourself. This guide is prepared for beginners who want to use their own avatars in VRChat.
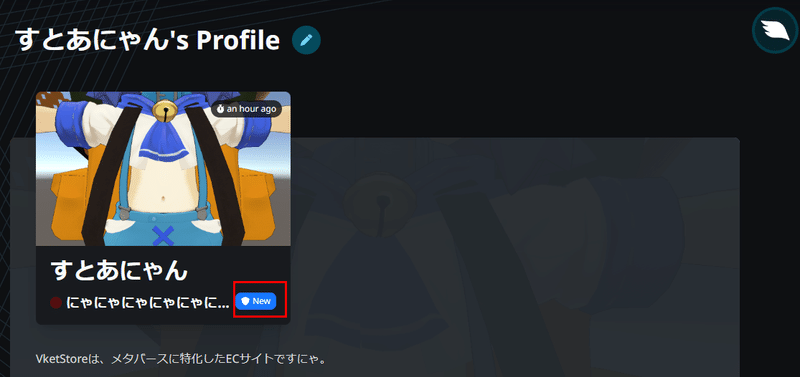
Check your Trust Rank in VRChat
Trust Rank is a user rank system in VRChat that changes according to your play time and other information. At first you will start as a Visiter. Once you are promoted to New User, you become able to upload your own avatars and worlds.
To check your Trust Rank, check the your profile on the VRChat website.
Install Unity and license
To upload an avatar to VRChat, you need to install Unity and make license settings.
Install Unity
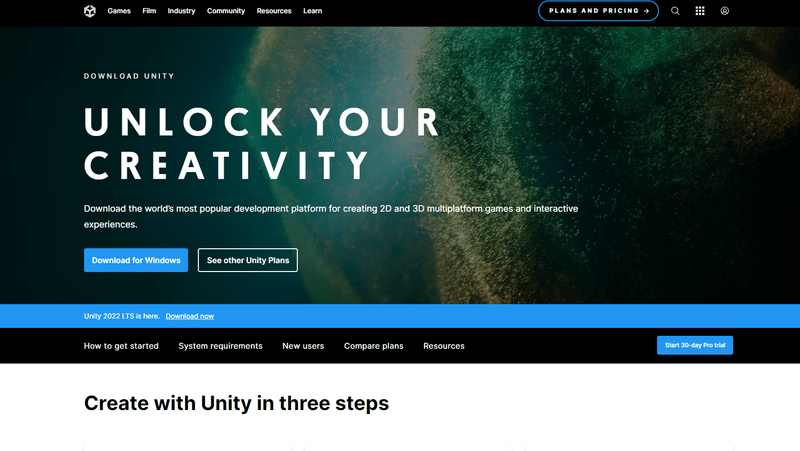
Download Unity Hub from Unity official website and install it. Unity Hub lets you manage different versions of Unity.
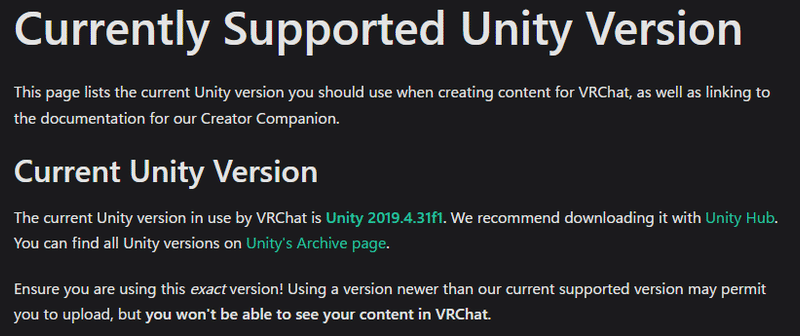
Check the VRChat officially supported version of Unity and install the version through UnityHub. Current officially supported version is Unity 2019.4.31f1.
Unity license setting
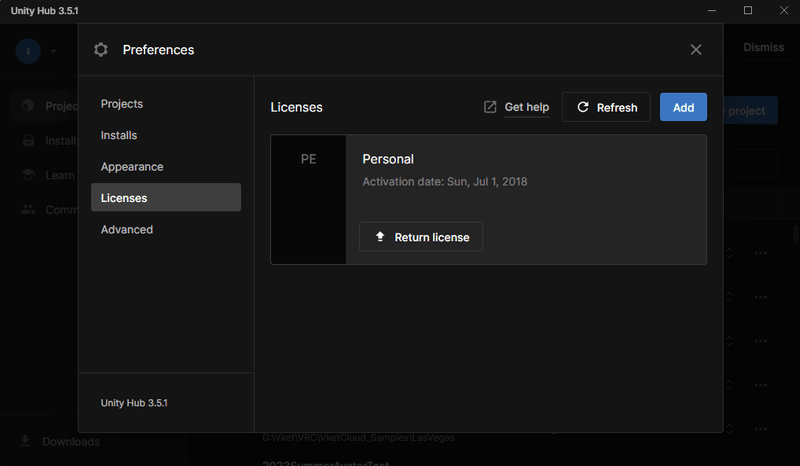
Activate Unity Hub and click Manage License.
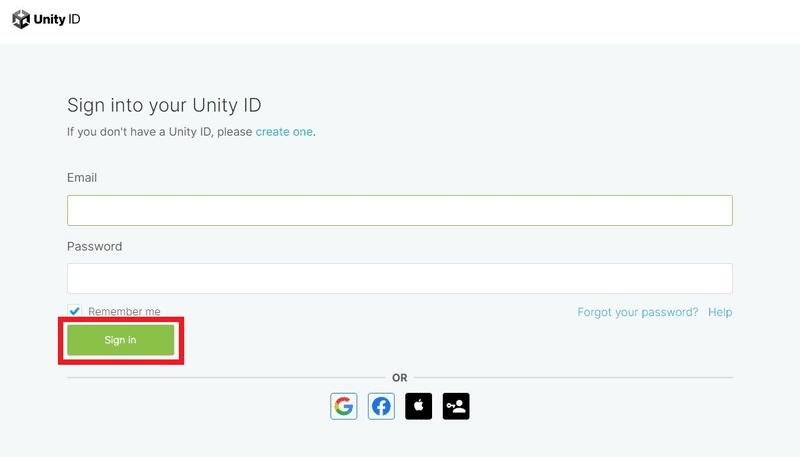
Sign in to your Unity Account or create new account.
Choose your plan and input necessary information to obtain Personal license.
Download and install VCC (VRChat Creator Companion)
Then, download VRChat Creator Companion to upload your avatar to VRChat.
Download VCC
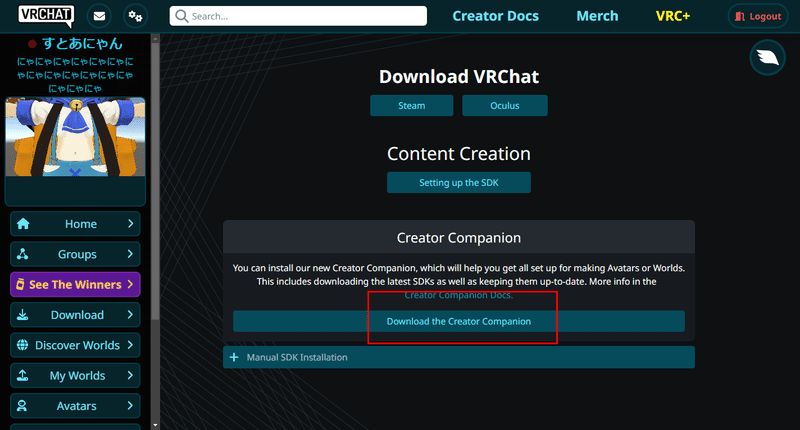
Download VCC from VRChat official website.
Install VCC
Activate VCC and input install path for Unity. You may see tutorial on the first launch. Follow the instructions.
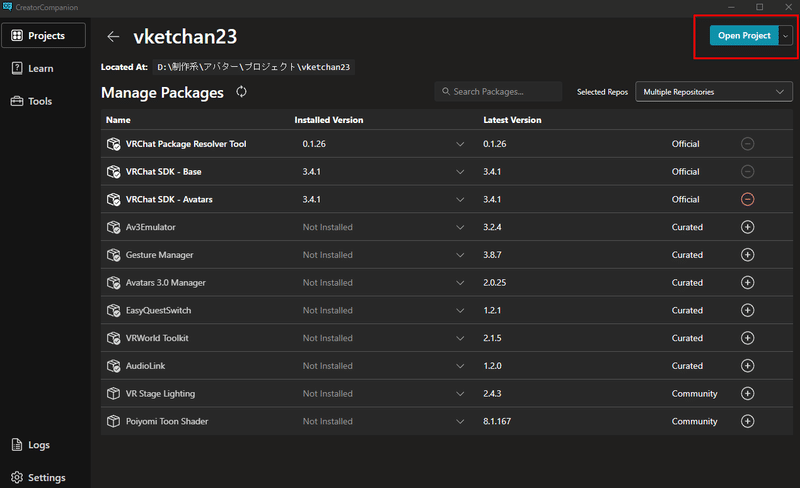
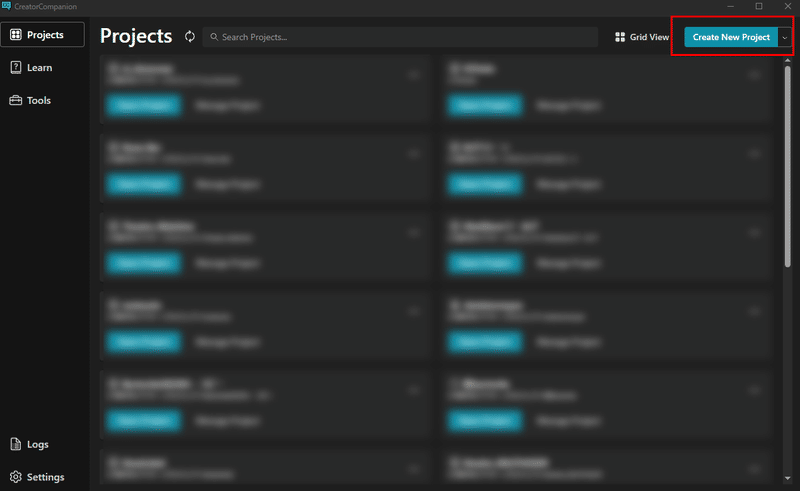
Inside VCC, create a new Project. Input project name and file location.
Import and upload avatars
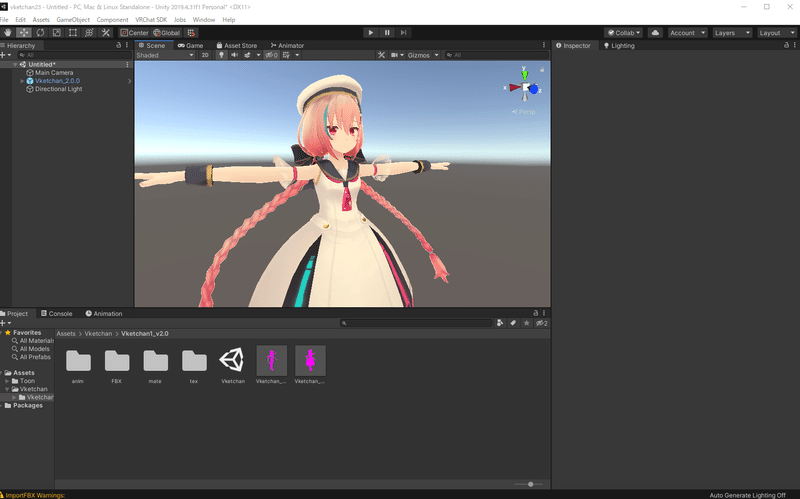
Finally, import your avatar data to Unity and upload to VRChat. This time, we'll use Vketchan 01 as an example.
Import avatar
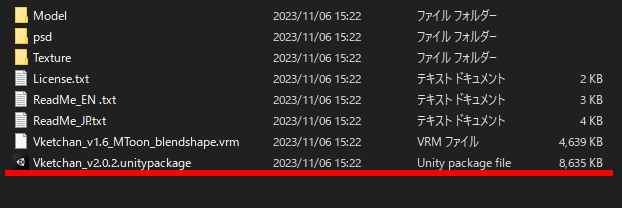
On Unity, double click a Unitypackage file or drag and drop the file. Click Import.
If your avatar file needs separate shaders and other files, import them beforehand.
Avatar upload
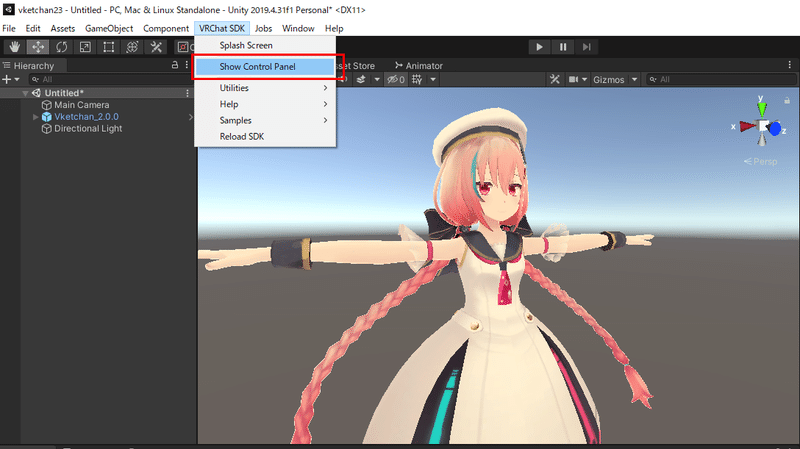
On Unity, click VRChat SDK on the top menu and choose Show Control Panel.
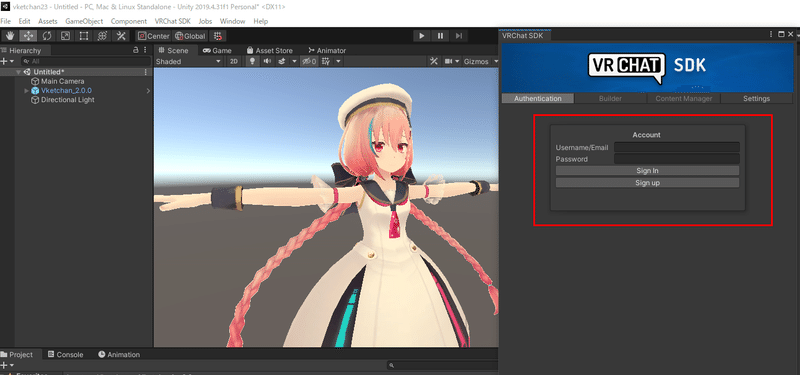
Sign in to VRChat account. Open Builder tab.
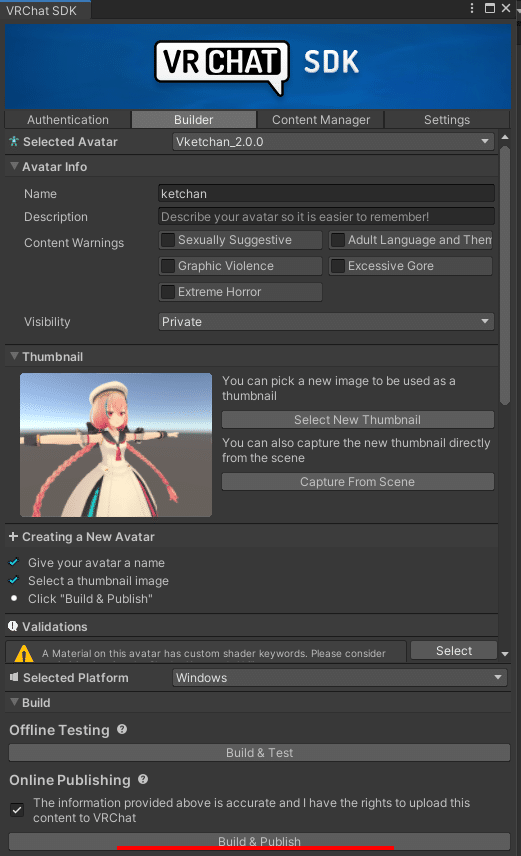
Name your avatar. Tick the checkbox at the bottom and click Build & Publish for Windows.
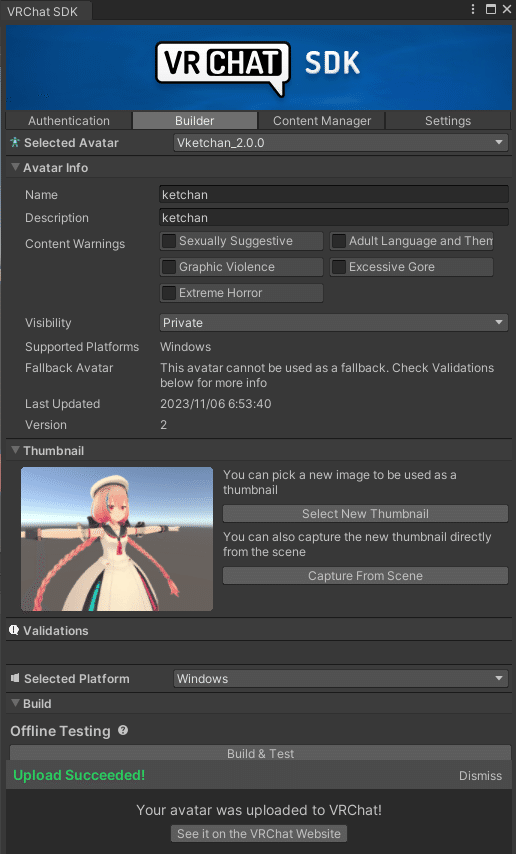
Once the upload is complete, the avatar will become available in VRChat. Have fun communicating with your friends in the virtual worlds!