

【Vket Cloud】Shopping in the metaverse! How to setup an E-commerce in your world


Learn how to use the "EC Linkage" feature on Vket Cloud Business and higher license plans. Check here for an overview of available license plans.
What is "EC Linkage"?
"EC Linkage" is a feature that connects e-commerce services such as Shopify to Vket Cloud worlds, allowing you to shop within the metaverse.
Up until now, the creator needed to implement Openweb functions to click on a product, open the sales site on a separate browser tab, checkout, etc. (Click here to learn how to use Openweb ).
By linking your E-commerce business with a Vket Cloud world, you can directly select the product model placed in the world, add it to the cart, and move to the payment site for checkout. A metaverse shopping experience is here!
Note that as of December 2023, only "Shopify" is available for EC Linkage.
Setting up EC Linkage
① Prepare your Shopify store
In order to setup EC Linkage, you will need a Shopify store in advance.
If you already have a store ready, proceed to ②.
If you do not have one, setup your Shopify store by following the article below.
② Develop a storefront API and obtain an access token
Storefront API is a program for reading and writing product data, payment information, customer information, etc. at a shop.
Through this, purchase information is exchanged.
An "access token" is a code information (like a password) which connects the storefront API and Vket Cloud.
While the title says "API development", development can basically be done by clicking a button on Shopify.
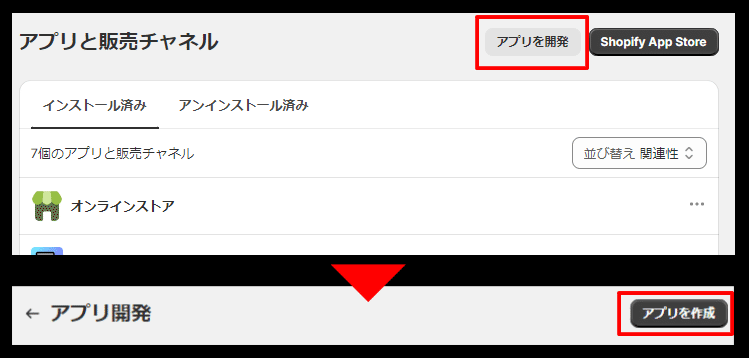
Open the shop you want to link and select "Apps" > "App and sales channel settings" from the menu on the left.

Once you are on the Apps and Sales Channels page, press the "Develop an App'' button, and then click "Create an App'' on the App Development page that appears.
Enter the app name and click Create app.

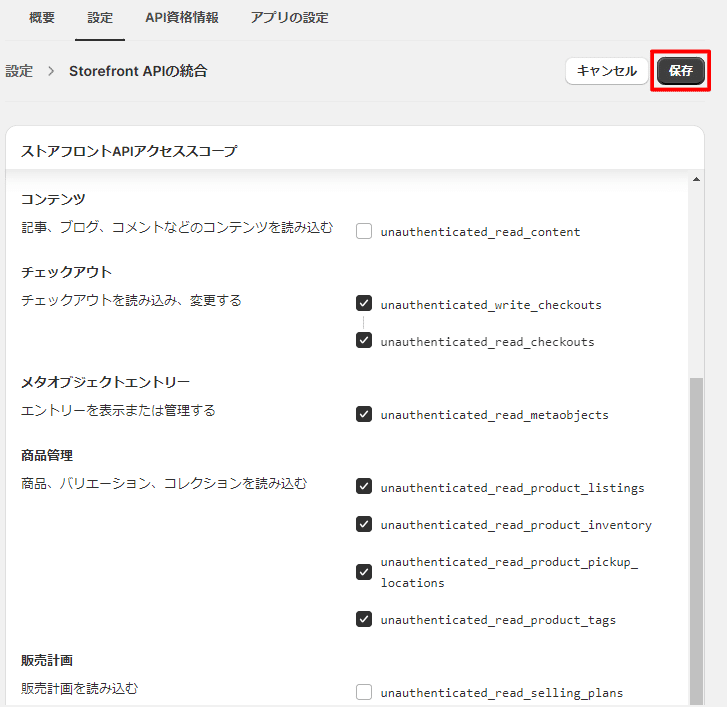
The app settings screen will appear, so click "Set storefront API scope" in the overview.

Check the necessary items on the settings screen.
For this instance, check all the checkboxes for "Checkout", "Meta Object Entry", and "Product Management" and press Save.
Next, click "Install App" in the "Access Token" list under API Credentials. A window will appear asking if you want to install it, so click "Install".

An access token will then be generated, so you can select it and copy it, or click the copy button to the right of the string.

③ Setup Linkage on the Vket Cloud website
Go to Vket Cloud and select the team you want to link your EC.
Click EC Linkage > EC Linkage Management > Add EC to link in the menu column.

Enter the access token you copied earlier on the linked e-commerce site and the store URL, and press Add.
Once added, the linked site will be displayed.
The linkage settings are now complete.

Displaying your products in your world
As linkage setup is complete, the creator can proceed to exhibiting their product in world.
First, go to the product management screen of the previously linked store, and label the products to be placed in the world.
By inputting this label into the "Product Display Activity" on VketCloudSDK, the creator can link the product data to the object installed in the world.
① Label the product
First, go to the product management screen. There are two ways to do it.
The first is to click on "Product Management" in the linked shop under EC Linkage > EC Linkage Management.
Second, please select the specified shop from "EC Selection" under EC Cooperation > Product Management.

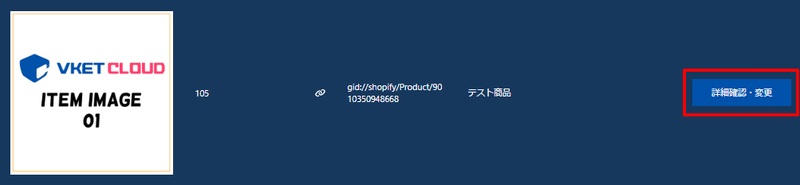
A list of products will appear, so click "Check/Change Details" for the product to be labeled.
Click "Change product label" for the variation to be registered and enter a desired label. This time, two variations "shiro" to white and "kuro" to black is added.
Variations resembles similar products with differences such as different colors or sizes of products, which can be added on the Shopify product settings page.

This completes the product management screen settings.
After this, configure settings using VketCloudSDK in Unity.
*Adding a 3D Object product display
The product's 3D display can be added by uploading the 3D model from "Upload Product 3D Model" of the variation for which you want to set the 3D object.
The model format must be a glb file, file size up to 10MB, and the total number of polygons less than 50,000 polygons.

② Configure settings with VketCloudSDK
First, access the Vket Cloud asset store and download "Product Display/Purchase Activity" (it's free!)
To do this, click on "Product Display/Purchase Activity" and then click on "Add Asset" at the bottom of the window that appears.

Then click on the acquired asset from "Asset Management" in the left menu. Click the "Download" button that will appear at the bottom of the window that appears.
Also, please unzip the downloaded "activity.zip".

③Configure settings with VketCloudSDK
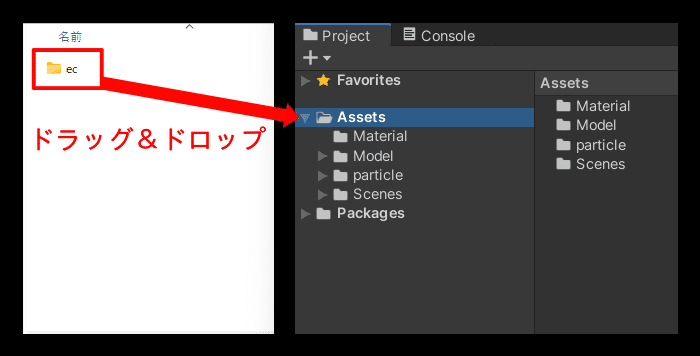
Move to Unity, and drag and drop the "ec" folder in the "activity.zip" that you unzipped earlier into Project's Assets.
Right-click Hierarchy > World and select "Create Empty" to create an empty object.
Select “HEOActivity” from Inspector > Add Component of the object you created. You can easily find it by entering "HEO" in the search field.

Drag and drop “EC Activity” from Project > ec to “.json” in the HEO Activity item.

Enter the label set in Vket Cloud's product management in "label" in EC Activity > Overrides > ec_placement. This time, enter "shiro".

Finally, change the object containing the HEO Activity to a name that is easy to understand (we named it "EC01" this time) and move it to the location where you want it to be displayed.
The basic settings are now complete, so move on to check its appearance!
*EC Activity Description
label …The name/label for the place where the product is located.
usemodel …3D model display ON/OFF. Designates whether to use a 3D model or instead an image to display the product.
large_thumbnail_size …Designate the thumbnail image used for displaying products. Disabled if 3D model is used.
model_local_offset …Designate the offset of 3D model used for displaying products
Also, if you select "README" in the ec folder in Unity, an explanation of each item setting will appear in the Inspector, so please refer to that as well.
Also, click here for the HEOActivity manual .
Checking final appearances
Normally, local Build and Run would be fine, although your account and EC information will not be linked unless the world is uploaded. We will briefly explain how to upload on this page, but if you want to learn more, please read this article.
First, go to the Vket Cloud homepage, click "Add a world" on the "World management" page, and create a world to be linked. It is okay to use temporary textures and explanations.

Add a world and copy the world ID string.

Return to Unity and enter the world ID you copied earlier in World Name in the Hierarchy > WorldSetting object's Inspector > HEOWorldSetting > Basicinfo tab.
*Click here for the HEOWorldSetting manual .
Click VketCloudSDK > Upload to Remote Server, select the world you added earlier, and upload the world.

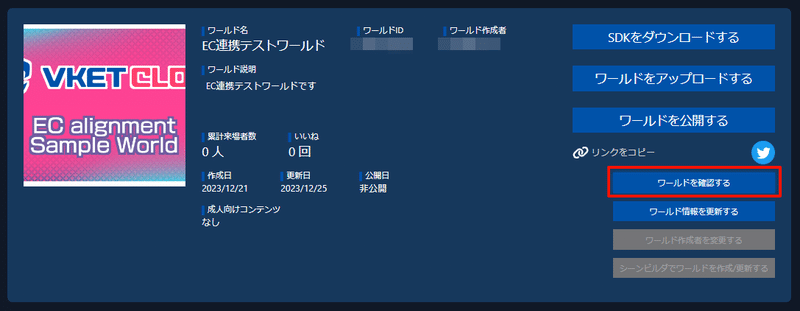
Once the world has been uploaded, click "Check world" for the target world from Vket Cloud's world management.
After the update is complete, it may not be reflected until you wait a few minutes, so please check again after a while.
Now let's go inside and check it out!
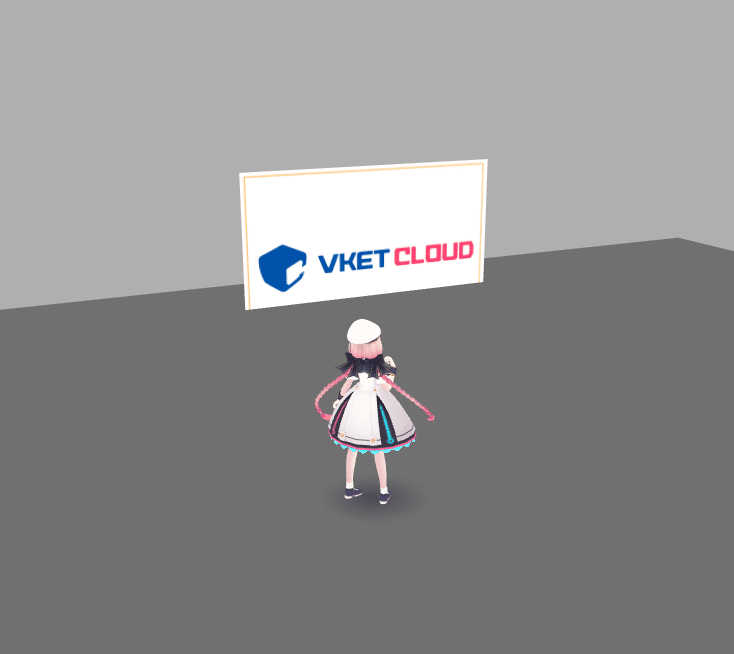
Although the display has been installed, it seems to be in the floor and large.
In this case, return to Unity and change the position and size of the object.
Set the "Y" value of the linked object's Inspector > Transform > Position a little higher, and the initial value of HEO Activity > Overrides > ec_placement > large_thumbnail_size is all 2.0 (double), so Change everything to 1.0.

As now the world's EC Linkage has been done by the previous upload, simply check the size with Build And Run.

Voila! It's just the right size!
Now, when you click on a product, you will be able to add it to the cart on the e-commerce site on the spot.

Click "Add to Cart" to stock the item in your cart. If you select multiple items, you can purchase them all at once, which is obviously convenient when shopping.
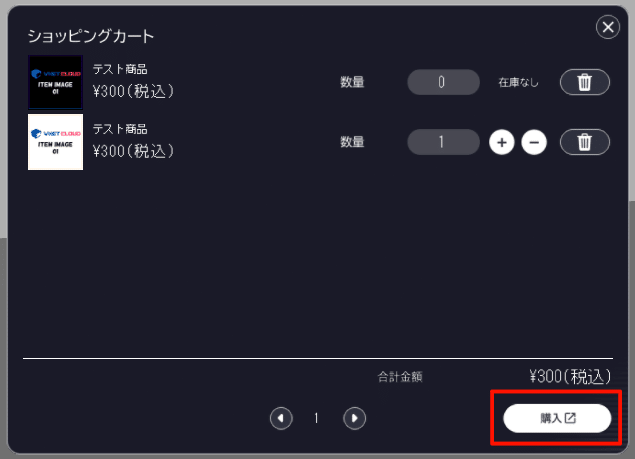
To pay, click "Purchase" in the bottom right corner.
From here, you will be redirected to the EC site, so enter your payment information and make your purchase.
Now we've gone through how to link EC services.
By linking your shop, the shopping experience in the Metaverse space will be much better, so please give it a try!

この記事が参加している募集
