How to use Vket Booth Maker - From Setup to Submission!

"Vket Booth Maker" - a tool allowing casual virtual market booth creation on a web browser, is now open for exhibitor use!
Read through this article to learn now to use the Vket Booth Maker, and how to submit your own Vket exhibition.
■ What is Booth Maker? → Official website
Update: New Features for Vket2024 Winter!
🔶Login to My Vket
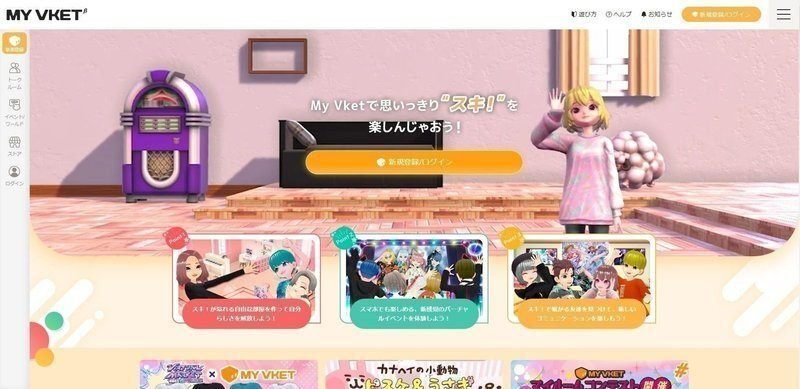
First, open My Vket to start your account! ( https://vket.com/ )
Login / Sign up using the login button on the top right.
If this is your first time, you will need to create a new account by linking it to your Google account.
If you are logging in for the first time, the following page will open:
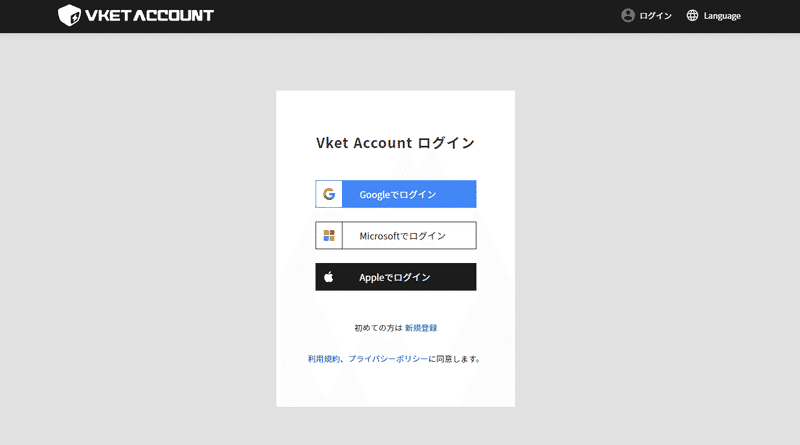
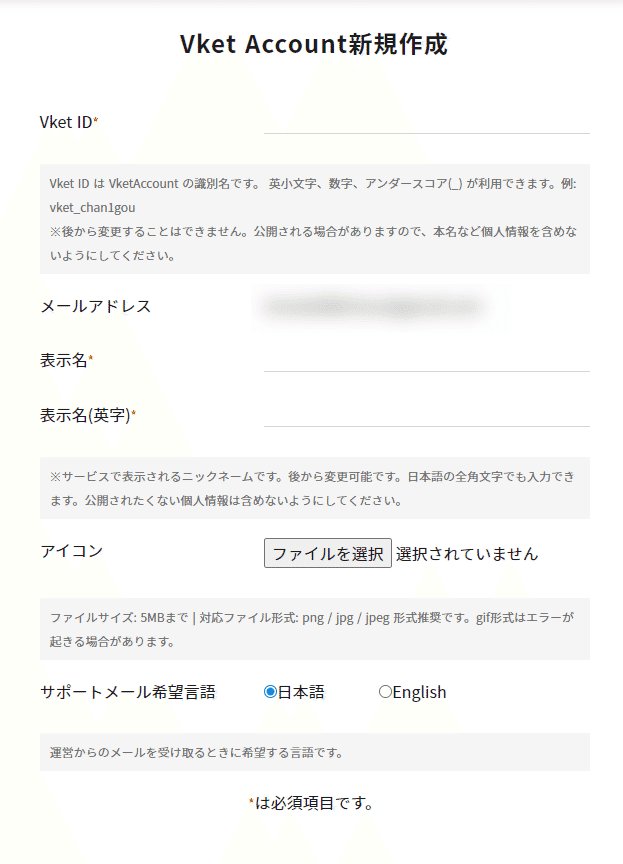
Log in with your Google/Microsoft/Apple account, and then the account registration screen will be displayed.
Please fill in the required fields and register.
Once registration is complete, you will be returned to My Vket and the tutorial will be displayed.
Choose your favorite avatar and room and proceed!
(You can also skip the tutorial)

🔶Access your "My Room"
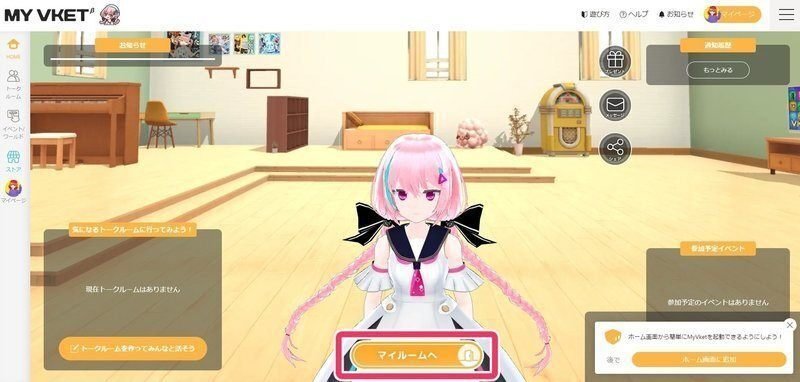
You can move between pages by clicking "Go to My Room" in the center of the My Vket top page.
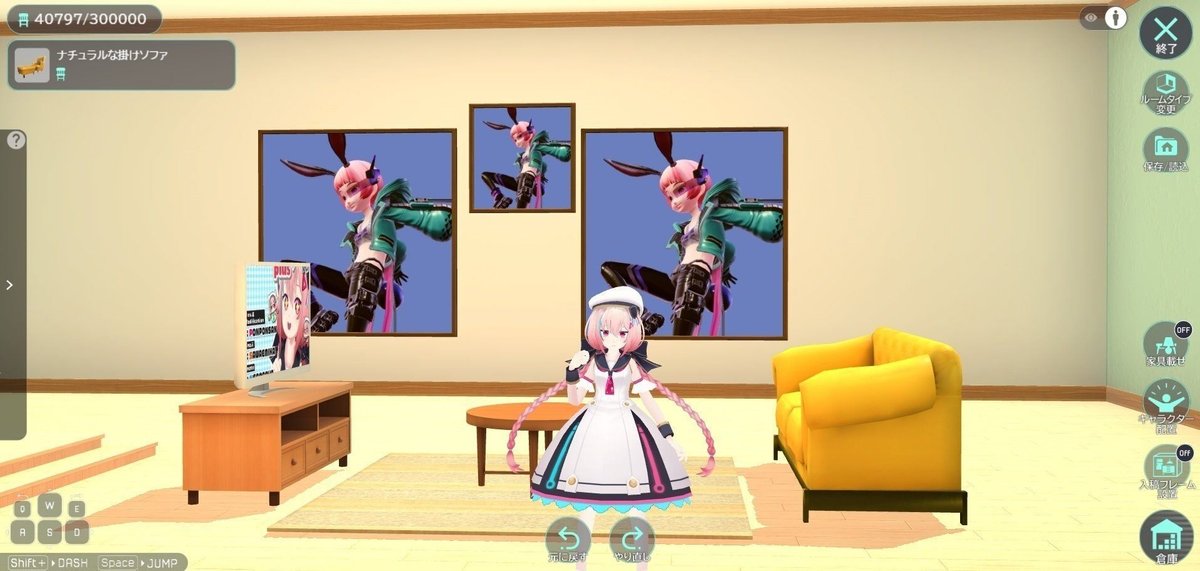
When you enter your room for the first time, your avatar will land without any furniture.
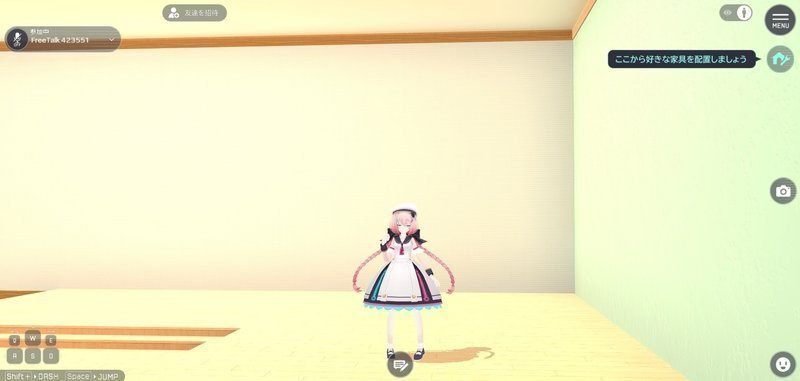
Now, let's get ready to set up our booth!
🔶Getting Ready
Click the "house icon" at the top right of the screen.
This will switch you to room editing mode.
When you enter edit mode, the UI will change and you will be able to move and place furniture in the room.
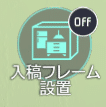
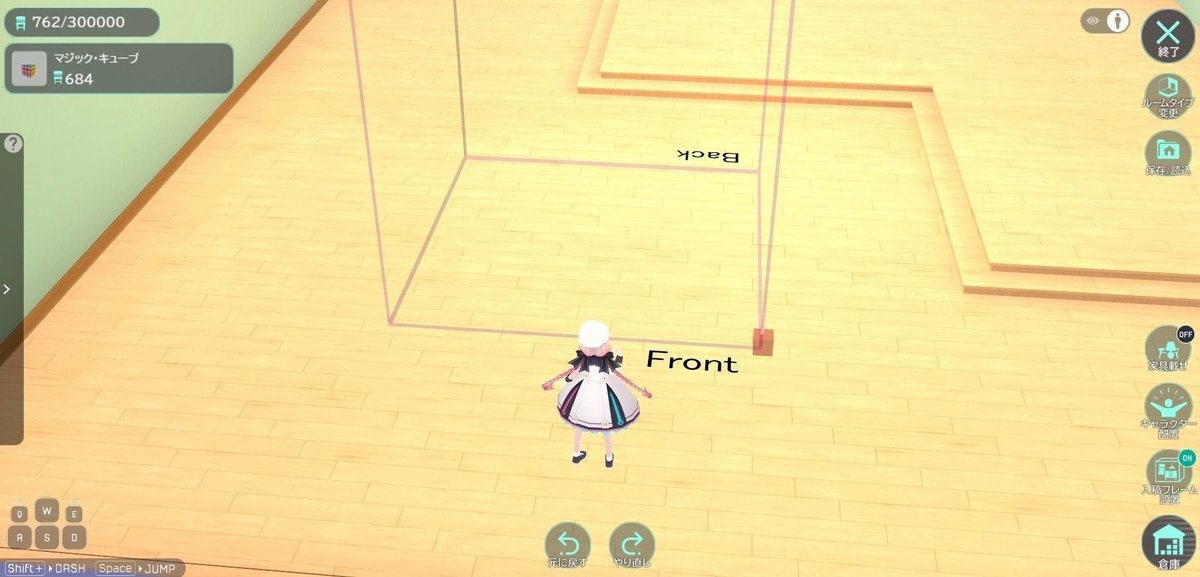
At the bottom right of the screen, there is an icon that says "Set submission frame".
Click here to turn on frame display.
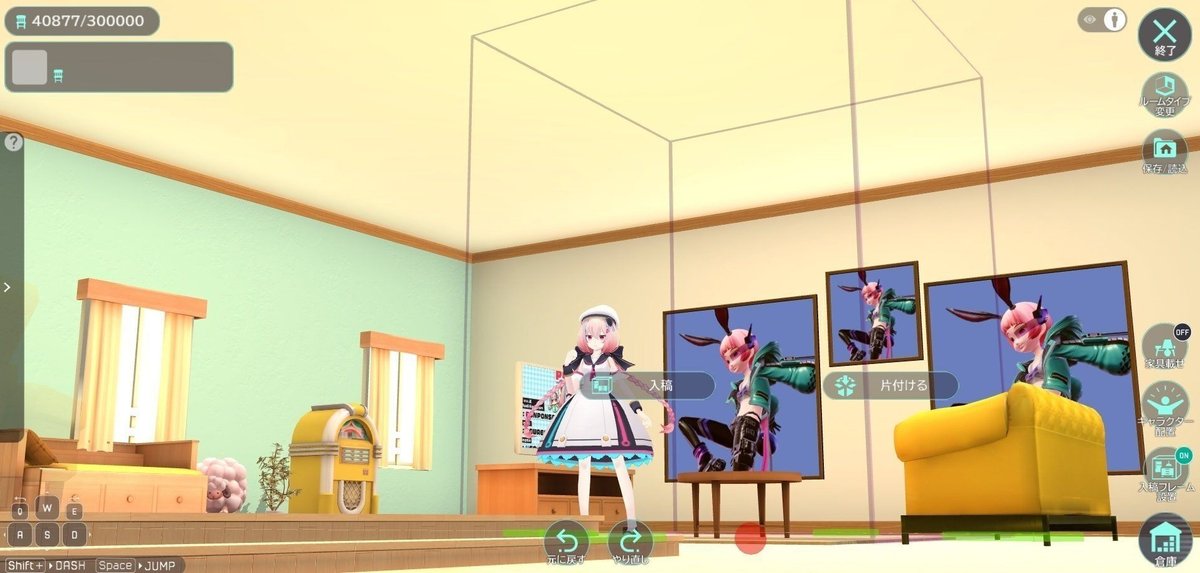
A frame was displayed in light pink.
This is the trafficking frame for Vket.
We will create a booth to fit within this frame.
If there is furniture in the room, it can easily become an obstacle, so it will be easier to work if you use the "Clear" button to remove it from the room.
You can remove furniture from the room by selecting it and clicking "Delete".
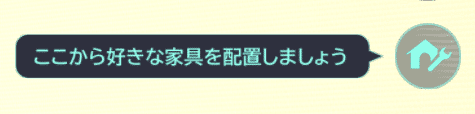
Once the room is tidy, create enough space around the frame and start arranging it.
There is a front and back of the submission frame, so be sure to create a booth following the direction.
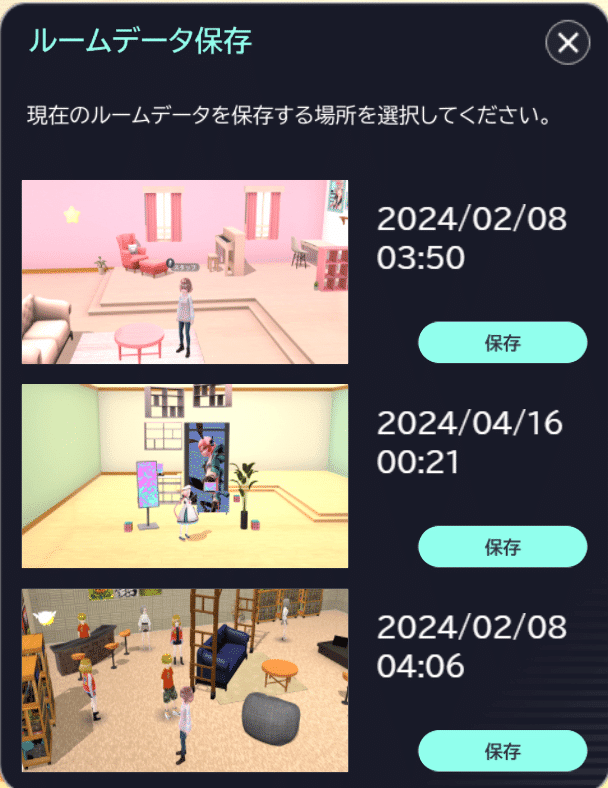
🔹Save frequently
Be sure to save frequently while working in case your PC freezes unexpectedly.
When you press the "Save/Load" button at the top right of the screen, the "Save" button will appear.


You can save up to 3 room data, so please make good use of it.
🔹Manipulating the import frame
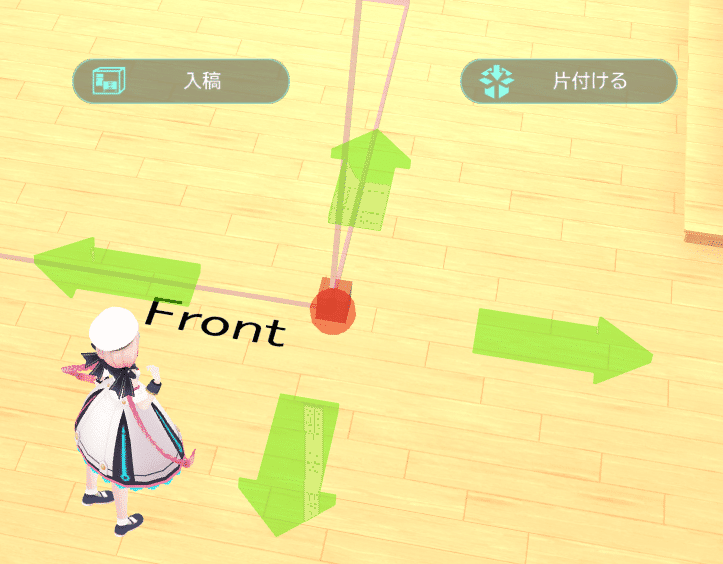
Click on the corner marked Front and a red block will appear.
You can move the frame by pulling this block or the arrows displayed up, down, left, and right.
You can also hide it using the "Put away" button.
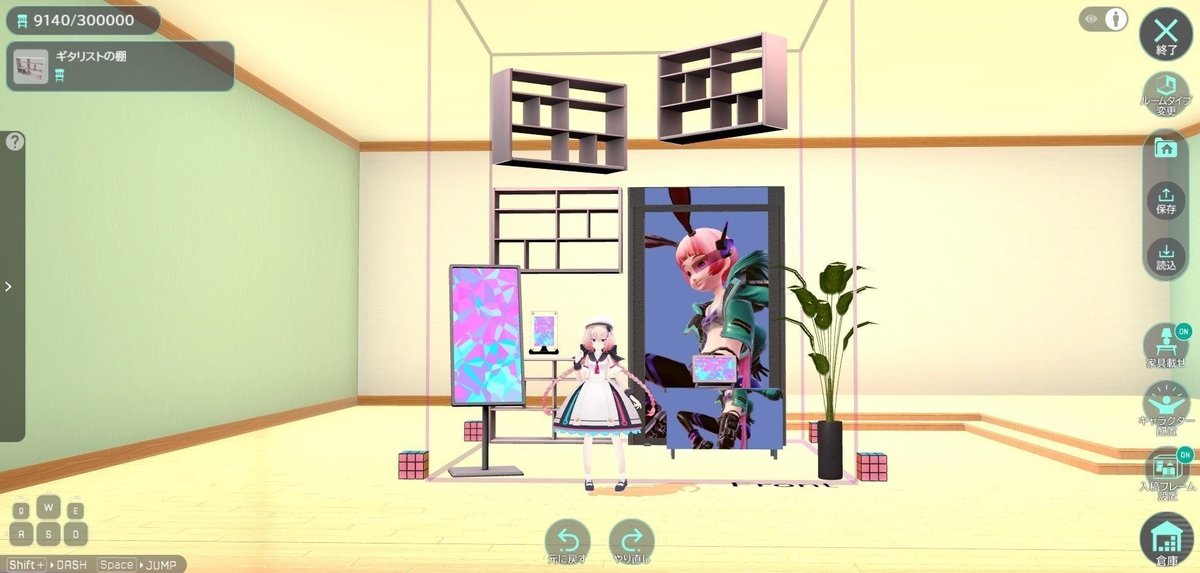
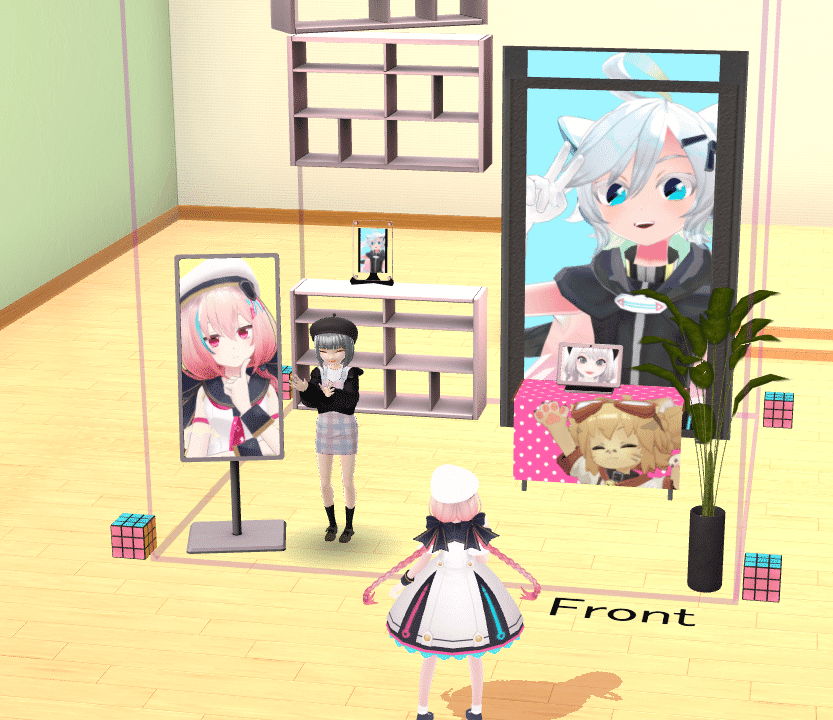
🔶Place items in the booth
Now's the time to place items in your booth!
The upper limit for the number of polygons in a frame is 100,000 polygons.
When creating your booth, be sure to pay attention to the number of polygons!
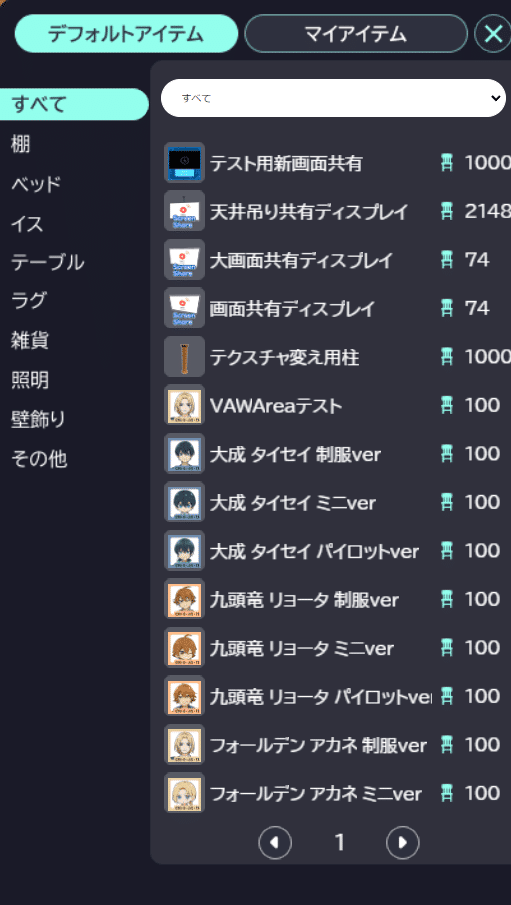
You can call up the 3D item you want to place from the "Warehouse" button at the bottom right of the screen.
When you press the "Storage" button, all the furniture that can be used in your room will be displayed in a list.
There are some items that are not suitable for Vket submission, so we will narrow it down.
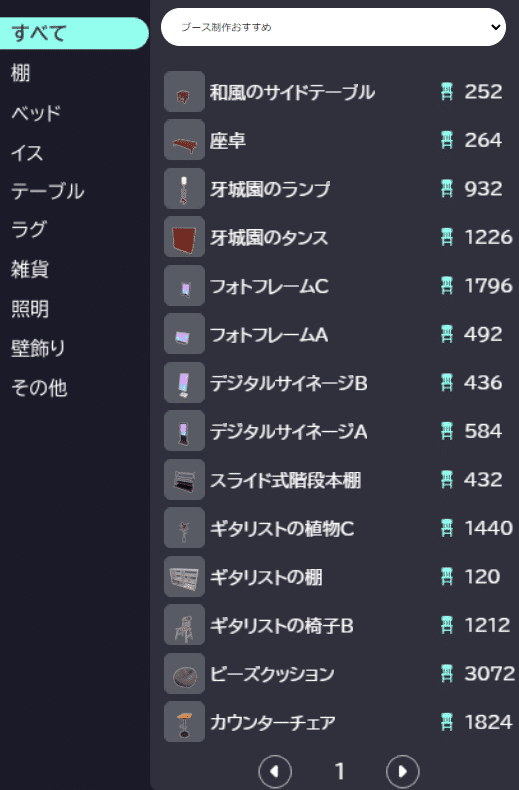
Select "Booth Production Recommendations" from the dropdown that says "All".
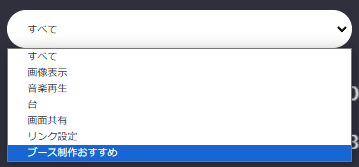
Now, only official items optimized for Vket trafficking will be displayed.
*As of April 17, 2024, the number is still low, but don't worry, it will be added in late April!
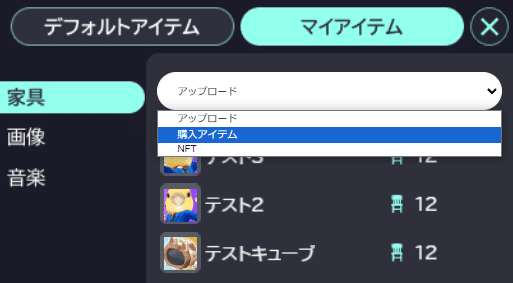
Items purchased at "Vket Booth Marche" and items purchased at My Vket's "Store" can be recalled from the "My Items" tab.
You can also upload and use 3D items (glb format) that you have created yourself, but they must meet the "3D item conditions for Booth Maker&Marche" described in this article . It is possible to publish to the store even if it is private.
The "My Items" tab will initially display the items you have uploaded in a list.

By selecting "Purchased Items" from the dropdown, the purchased items will be displayed in the list.
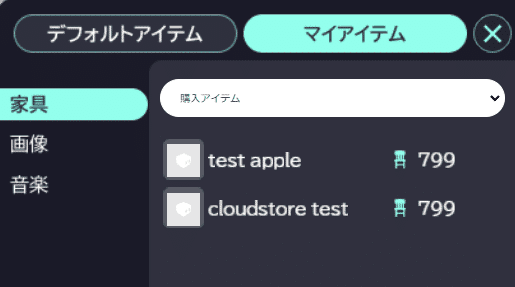
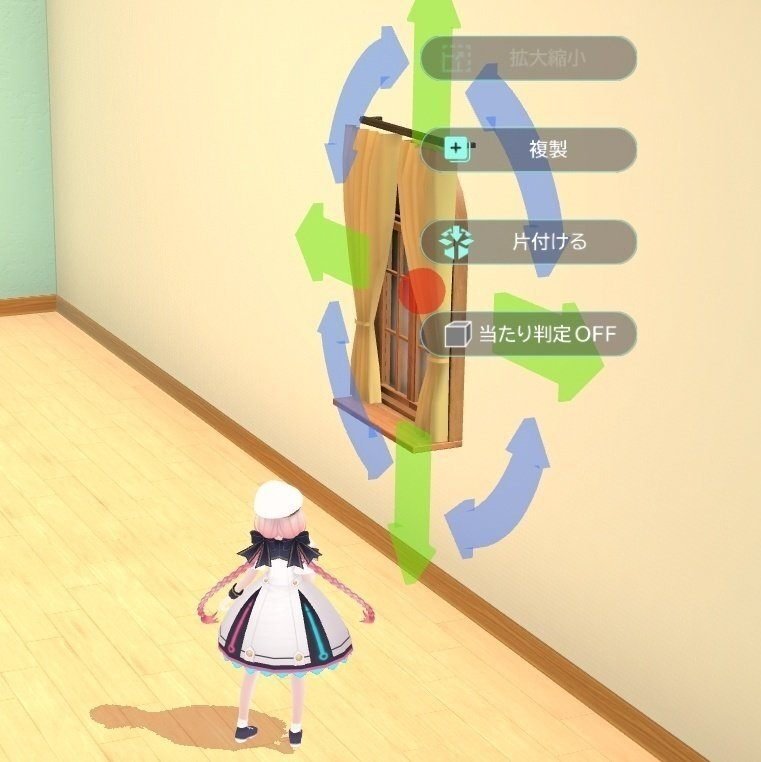
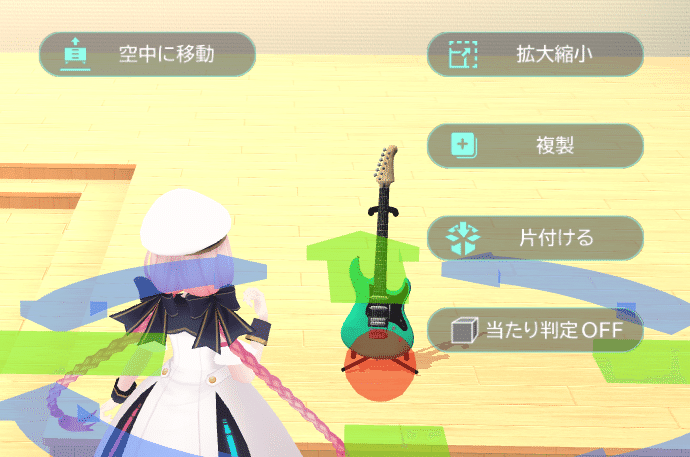
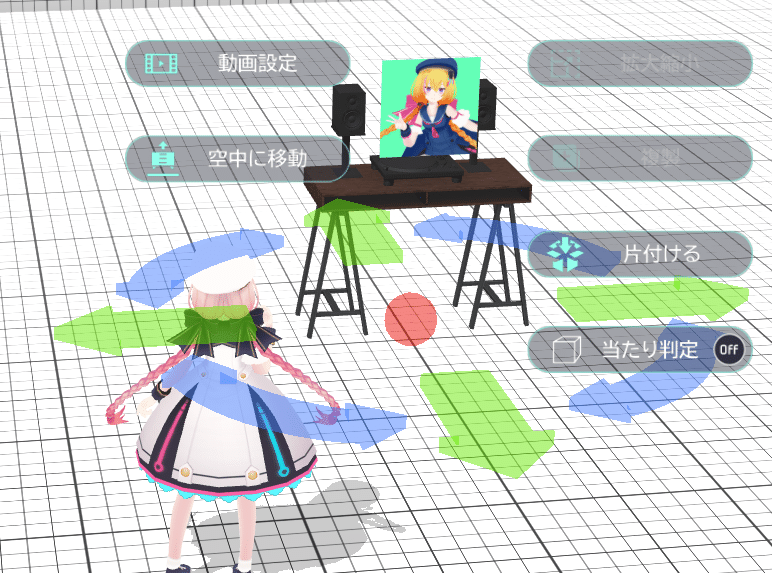
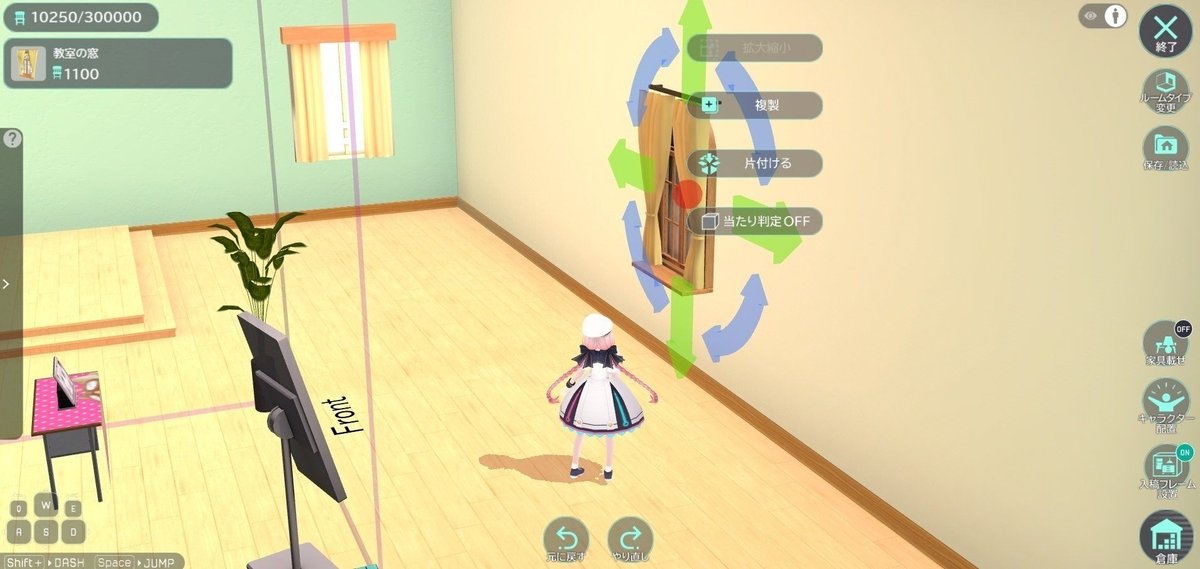
Click the item you want to put into the space from the list and it will be displayed in the space.
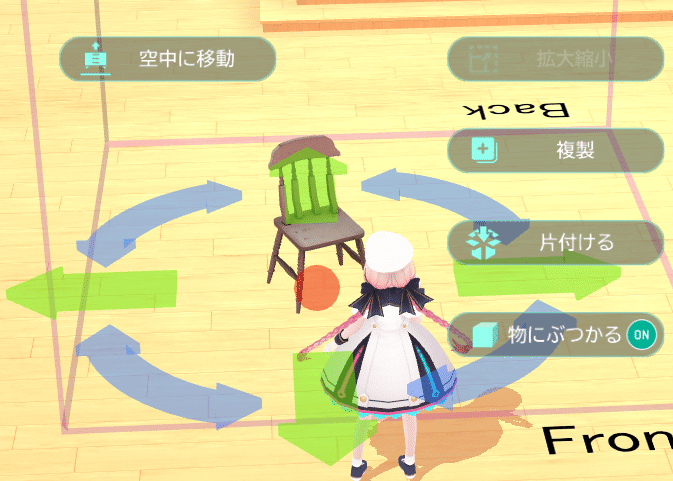
When a 3D item is selected, arrows pointing forward, backward, left, right, and rotation are displayed.
You can move or rotate 3D items by clicking and holding the arrow and dragging the cursor on the screen.
You can also move by clicking the red circle in the center and dragging the cursor on the screen.
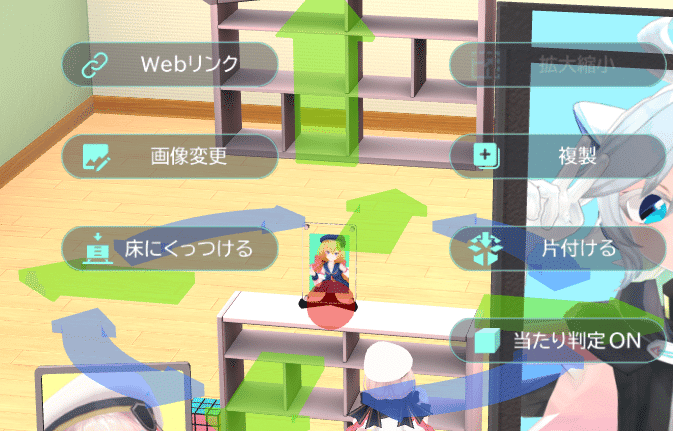
"Duplicate"
Duplicate and display the same 3D item.
"Clean up"
Stores 3D items in the warehouse and removes them from the space.
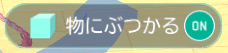
"Hit detection ON/OFF"
Select whether to add a box collider (hit detection) to the 3D item. You can set ON/OFF with a click.
🔹About the use of hit detection
By turning on the collision detection, the player will be able to collide with 3D items.
You can use this to separate spaces like walls.
You can also create a fun booth by adding simple action elements!
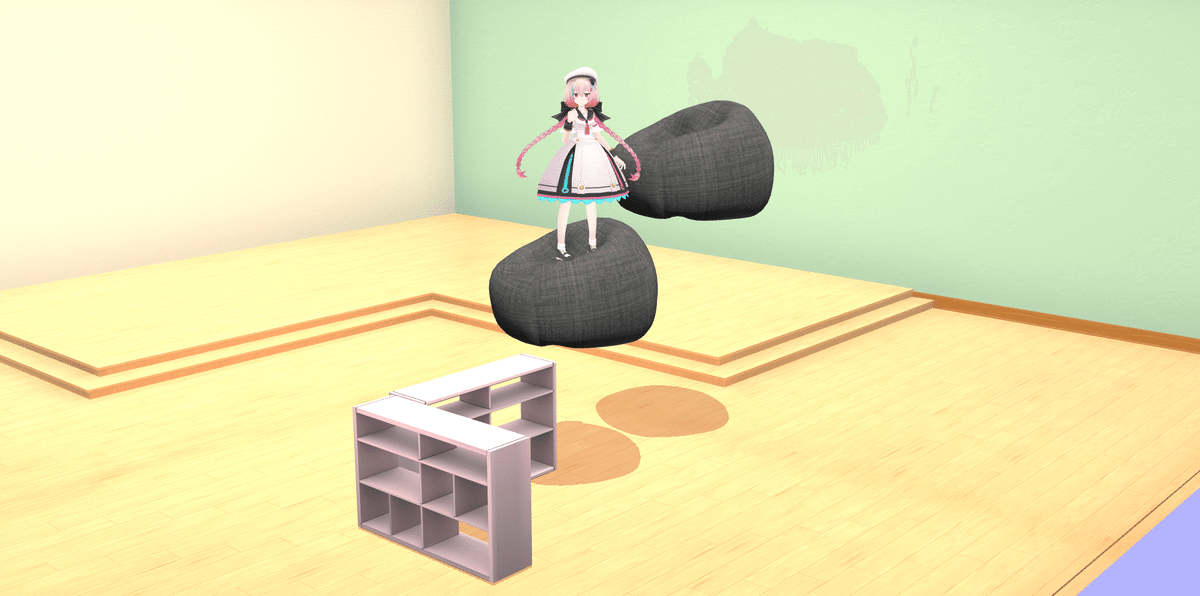
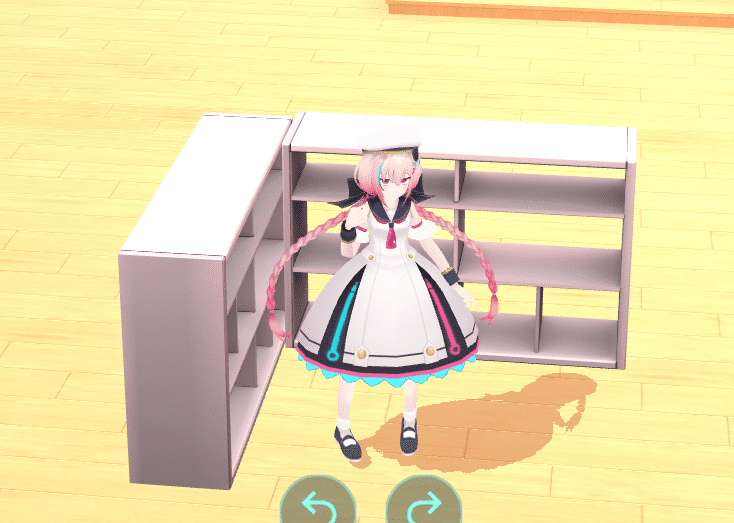
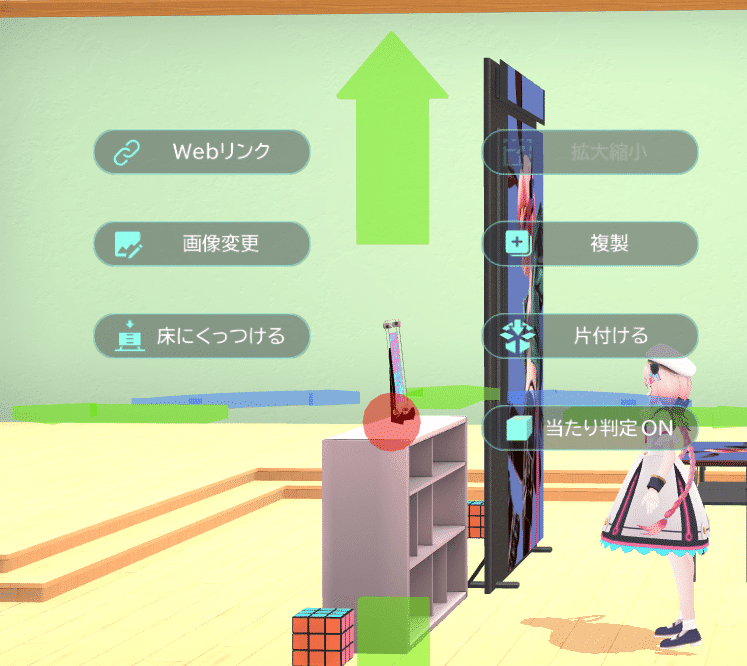
🔹Place/float items on items
We will explain how to use it when you want to place small items on the shelf.
Select the item you want to place on top and press the "Move to Air" button.
"Move into the air"
3D items can be lifted off the floor and moved vertically.
The item lifted off the floor and a vertical arrow appeared.
Adjust the height of the floating item to match the height of the shelf, etc. you want to place it on.
Move it horizontally and place the item so that it is on the shelf.
Vket's booth is tall, so it might be fun to try floating things!
🔹How to scale items
Items purchased from "Vket Booth Marche" or My Vket's "Store" and 3D models (glb format) uploaded by yourself can be scaled.
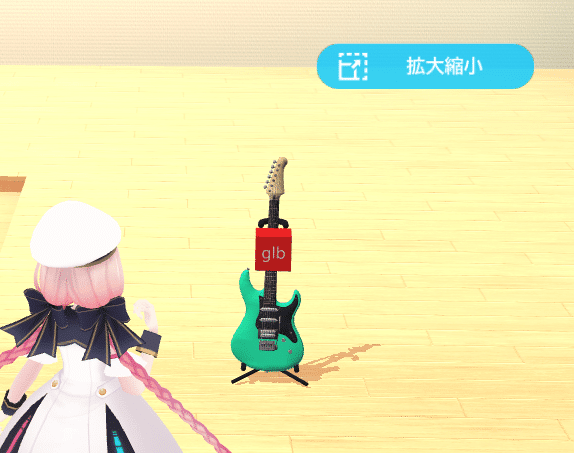
Remove the item from storage and click "Scale".
When in scale mode, a red box appears above the item.
You can zoom in or out by clicking on the red box and dragging the cursor.
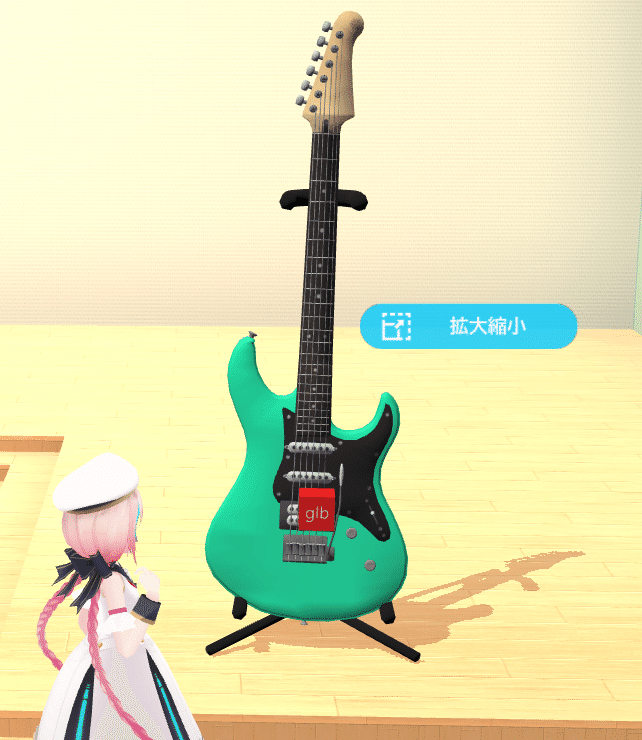
Click on the red box and drag the cursor outside the box to "zoom in."
It will be up to 3 times the original size.
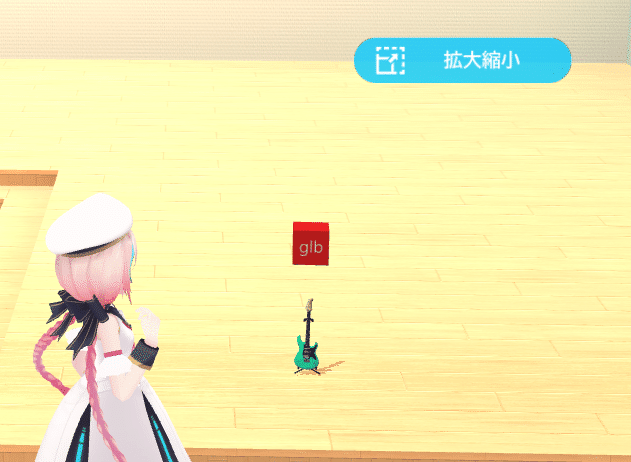
Click on the red box and drag the cursor inside the box to "shrink" it.
The maximum size will be one-third of the original size.
Once you are satisfied with the size, click anywhere outside of the item to deselect it and exit scaling mode.
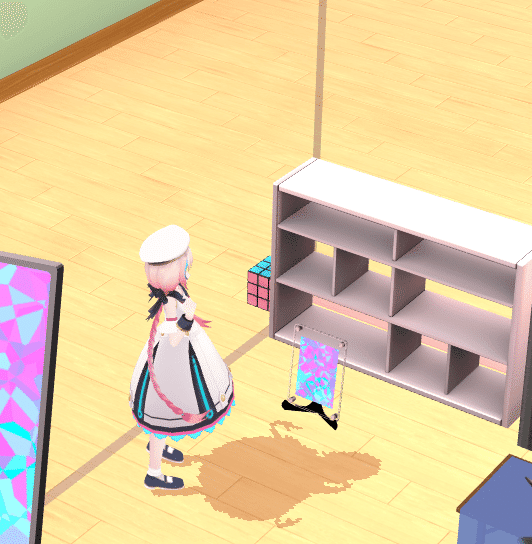
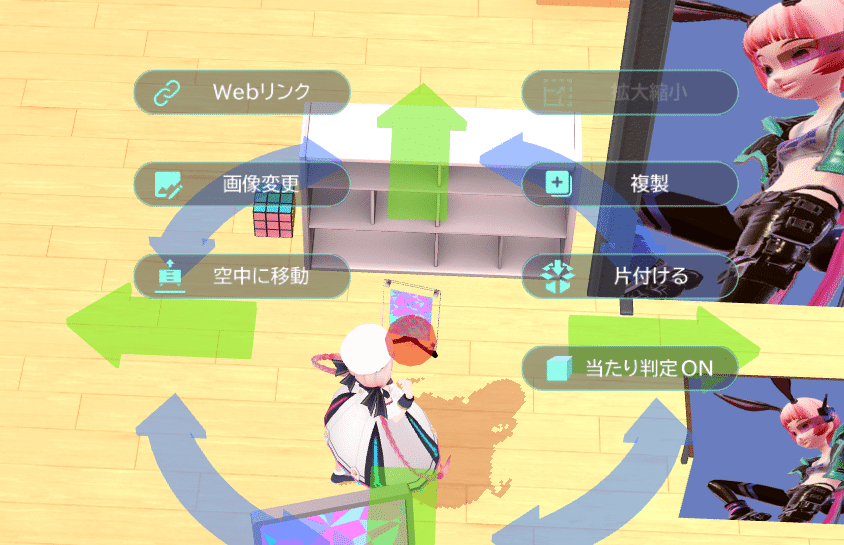
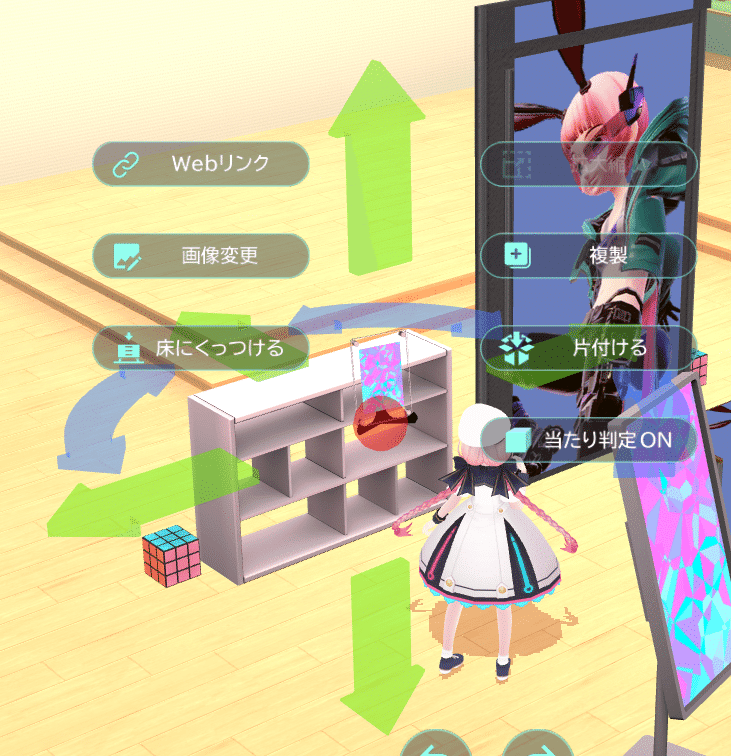
🔹How to change the image

Among the official items, there are some items whose images can be changed.
Make good use of it on booth signs, item descriptions, etc.
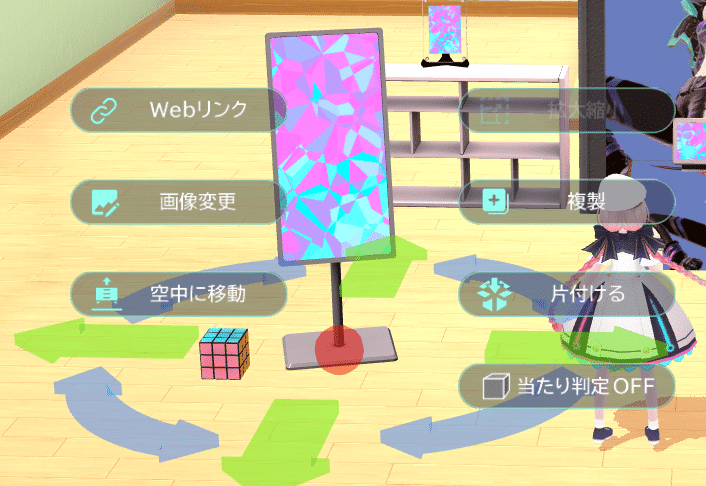
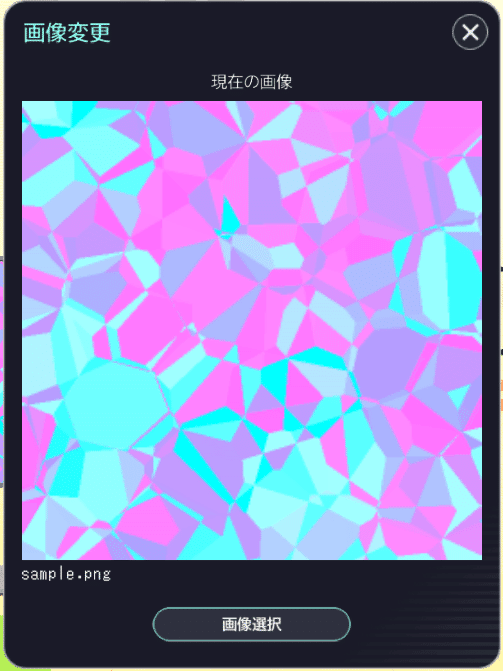
Select an item whose image can be changed and press the "Change Image" button.
"Image Change"
You can change the texture of the item and change the image of the picture frame or silage.
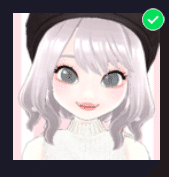
When you press the "Change Image" button, the "Current Image" is displayed first.
Proceed to "Select Image" in the bottom center.
The screen for uploading an image will appear.
Select your favorite image and try uploading it.
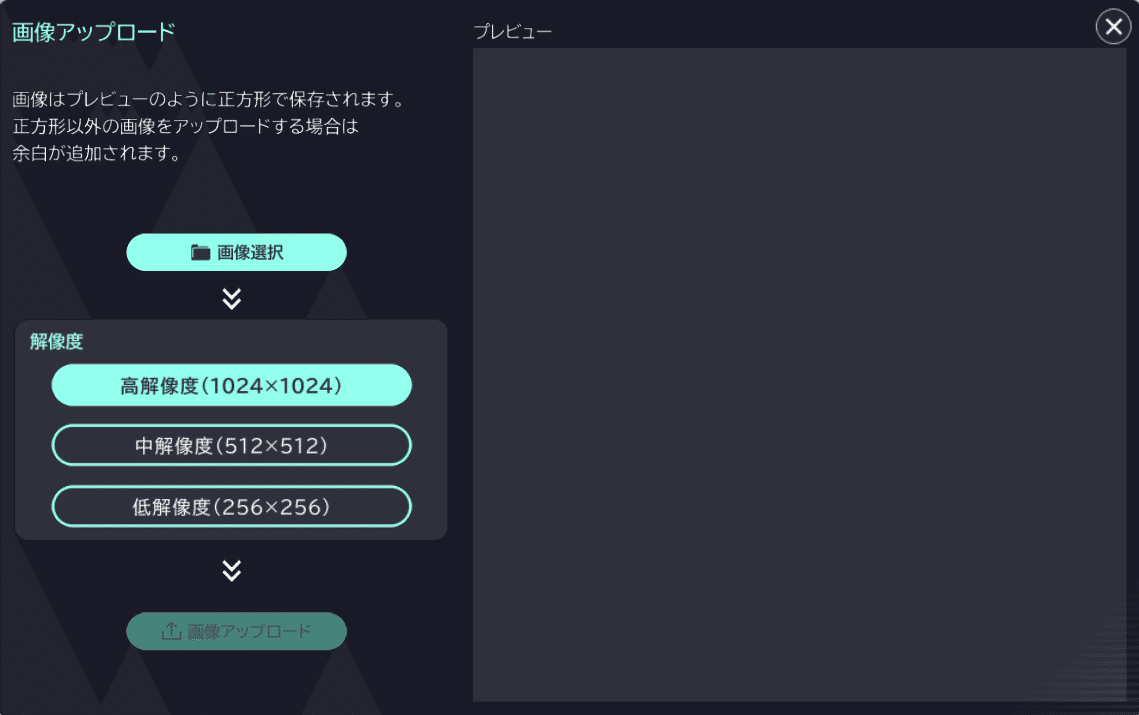
It supports png/jpg, and the size will be automatically resized to square after uploading.
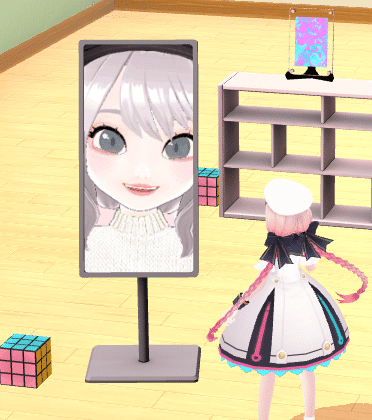
As shown in the image below, a black border will be added and the rectangular image will become a square.
The image will always be square, but if the item is rectangular, such as silage, it will be cropped.
In the case of the previous image, it was cropped like this.
If the original image is square, only the image size will be resized.
The aspect ratio will not change if it is originally square.
When placed in silage, it will be trimmed like this.
It may seem like a bit of work, but if you set the image properly according to the cropped area, you'll end up with a nice-looking booth!
🔹Uploading Videos
By placing an item with the video upload feature, a video can be exhibited in the Vket booth!
To begin a video setup, place an item with the Video Upload feature included.
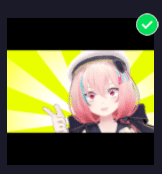
Click on the "Video Settings" button to open a window to designate a thumbnail and video data.
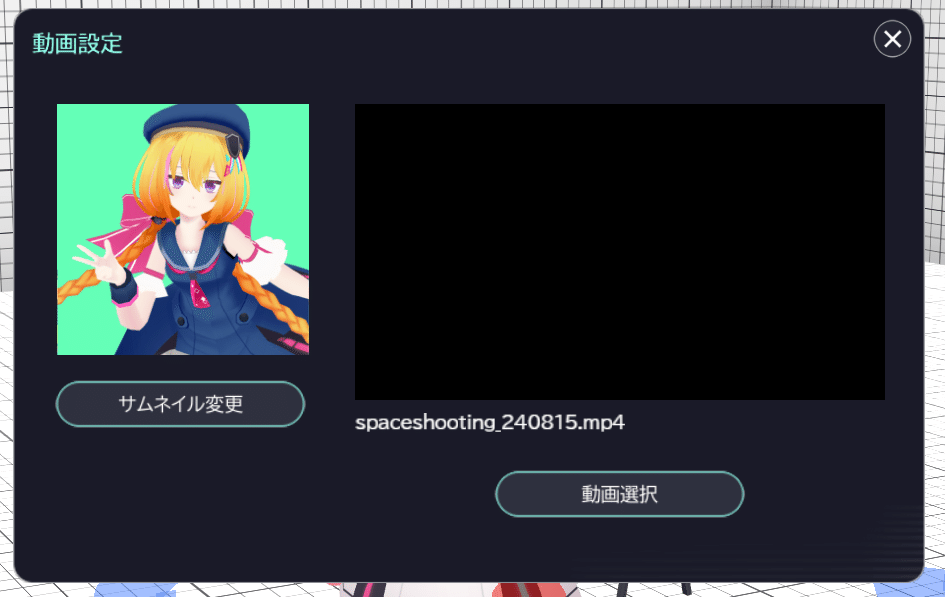
Format for Video Upload
Thumbnail Image Ratio: 1:1 square
Video Size: 16:9 (Landscape)
*1280 × 720 px recommended
Video Data Size: 30MB or under
File Format: mp4
Video/Thumbnail can be uploaded in formats other than above, which will be reformatted automatically with black spaces.
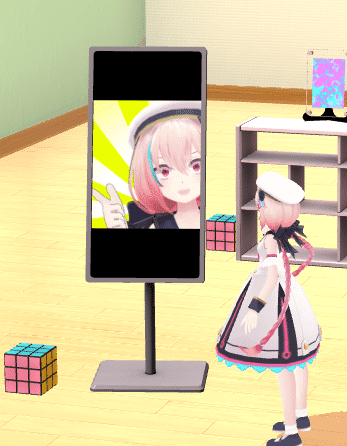
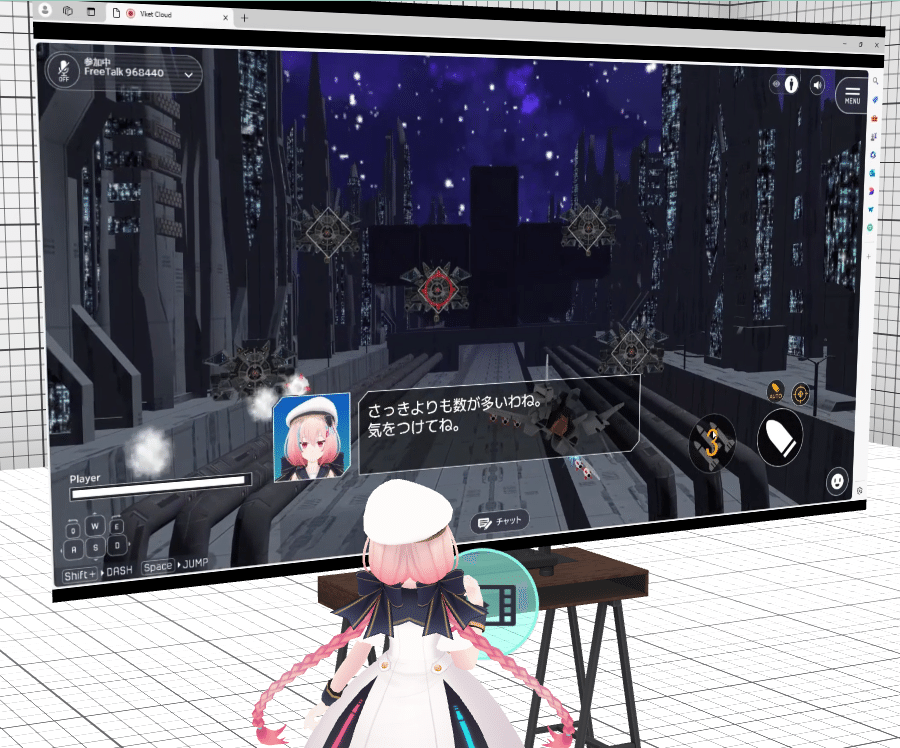
Saving the video setup will result in an appearance as below:
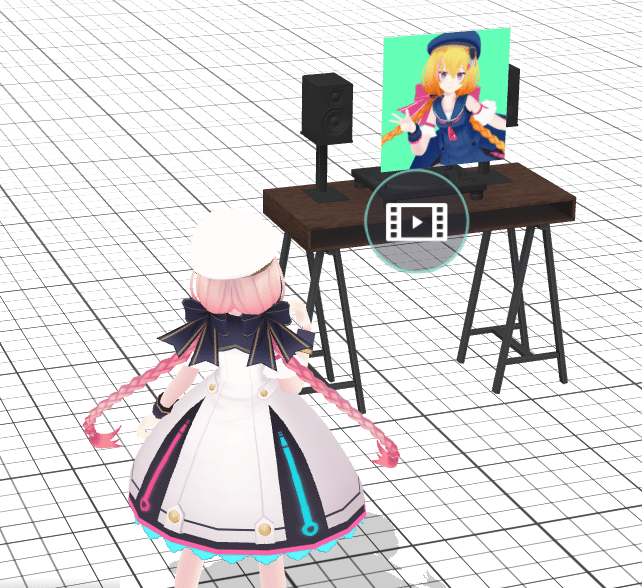
On the Vket Booth Maker, the video will play when the thumbnail is clicked.
On VRChat, the video will play when the visitor comes close!
🔹Displaying an Avatar
On Vket Booth Maker, one avatar can be exhibited with an avatar pedestal.
First, click the "NPC Avatars" button at the bottom right of the screen.

The list of available avatars will be shown.
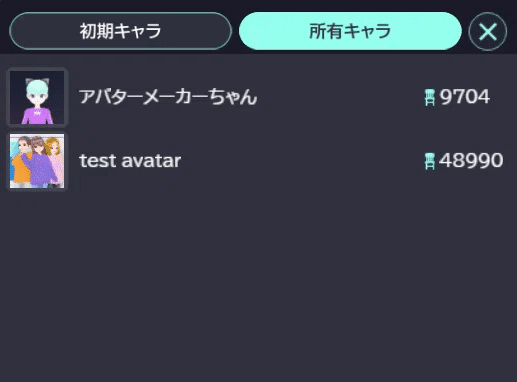
In the "Preset Avatar" tab, avatars provided by My Vket will be shown:
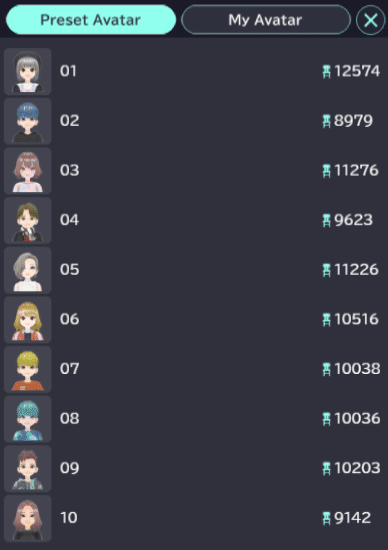
To view your uploaded avatars and purchased avatars, click the "My Avatar" tab!
Clicking an avatar will place the avatar in the space.
To learn how to upload your avatar, see the following article:
Customize the placed avatar to your exhibition!
By default, the avatar is set to "Walking Around" mode, which should be changed to a "Fixed Pose" to display in an exhibition.
*A "Walking Around" mode avatar will be displayed in the default pose (A-Pose Standing) in the actual Vket exhibition.
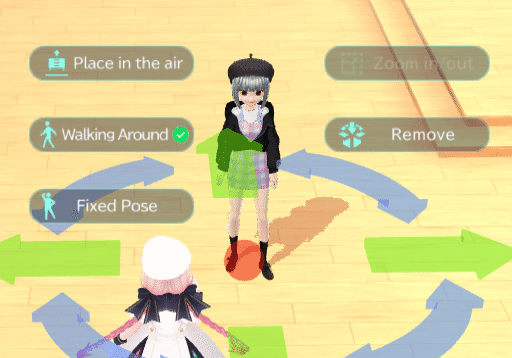
Click the "Fixed Pose" button to select from a variety of poses and expressions for your avatar.
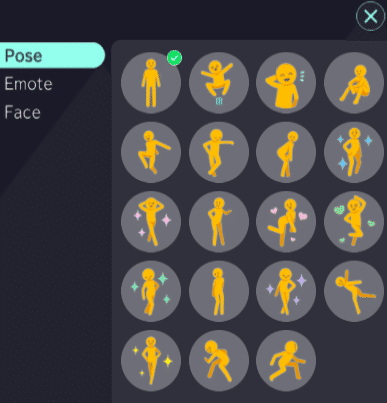
"Pose"
Avatar will take a designated pose.
"emote"
Avatar will do a short animation in a loop. (e.g. dance, wave hand, etc.)
"Face"
Avatar will change facial expressions.
*The original VRM data must have a facial expression setup.
*Even if the expression does not appear on My Vket spaces, the designated expression will be shown on VRChat.
*All of the above can be exported to VRChat, which Emote will be played in a loop animation as display.
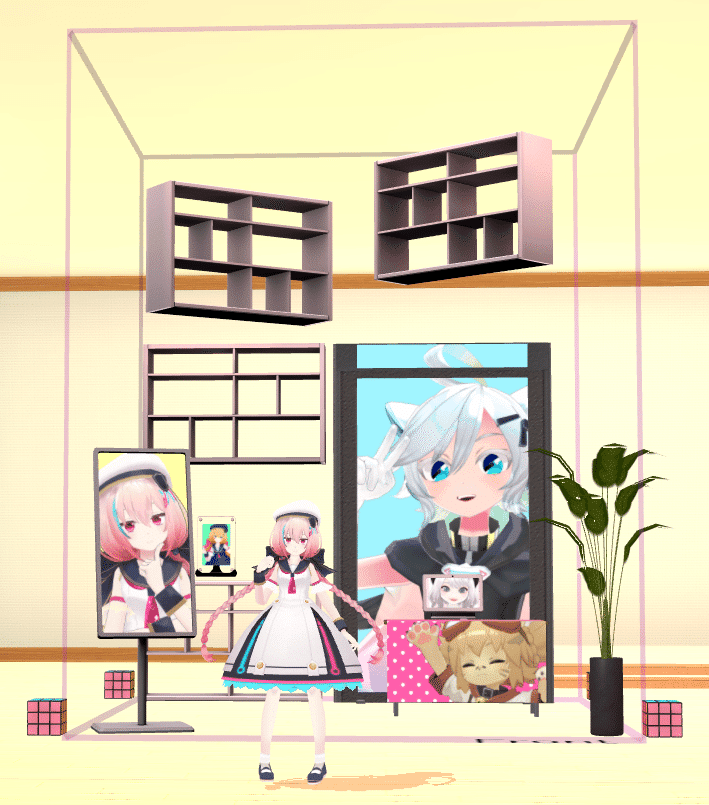
After designating a pose, place the avatar in a desirable position.
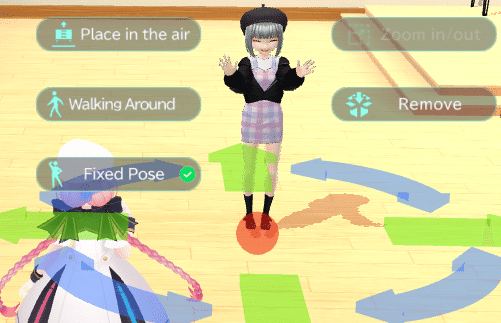
With an avatar display, your booth will become lively!
🔹Setup Avatar Pedestals
VketAvatarPedestals are now available on Vket Booth Maker!
Pre-preparation such as uploading your avatar to VRChat is required. Learn how to setup an avatar pedestal on the article below:
🔹Adding Weblinks to Products
There are some 3D items in My Room that have the "Web Link" function enabled. Please note
that this does not function as Booth Maker.
Please use this item to submit to the virtual market.

It is also possible to replace the image for this price tag item, so please use it by replacing it with the image you want to use, such as the selling price.
By submitting it, it will automatically become a button with a link on the VRChat side. The transition destination is the same "Circle Page".
🔶Booth Submission
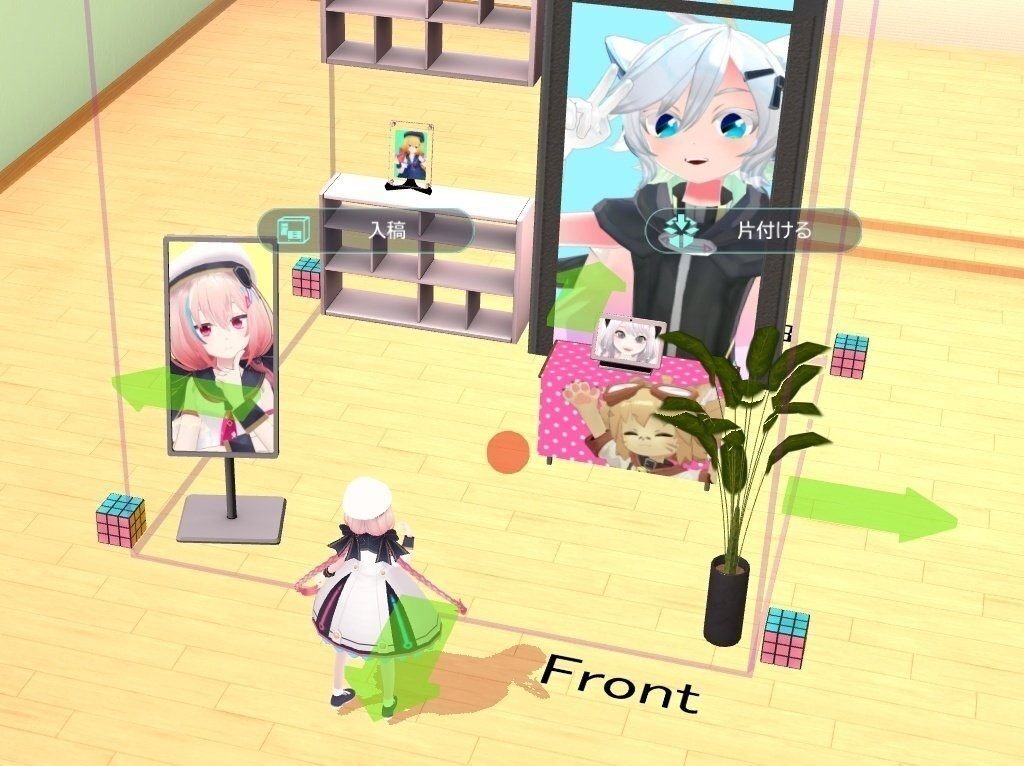
With the import frame selected, press the "Submit" button.
A list of submissions will be displayed, so be sure to check that all items in the booth are displayed.
(If it is not on the list, it will not be submitted)
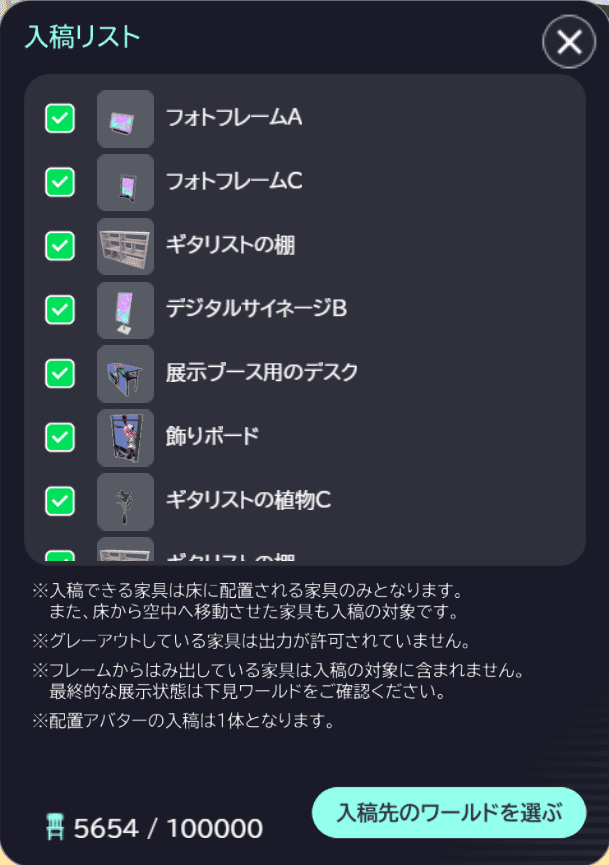
After this, you will proceed to ``Select the World to Submit'', but you will not be able to proceed until the virtual market submission agency starts.
Please wait while practicing creating your booth!
🔶Troubleshooting
🔹Items are not displayed in the submission list

Items may be protruding from the frame.
Also, even if the item itself is contained, if the item's box collider protrudes, it will not be reflected in the list.
🔹Can't select item
You may have selected another item or trafficking frame.
In particular, if there are items left on the wall in front of the booth, it is recommended that you clean them up as they may have been selected.
🔶Contact information for any problems
You can also contact us using the official website inquiry form.

The above is an explanation of how to use Vket Booth Maker to submission!
■ Virtual Market official website

■ Booth Maker&Marche official website
Check out X (Twitter) for the latest information on the virtual market!
■ Recommended articles