How to setup your VRChat avatar via Avatar Maker: The Quick Guide
VRChat is a virtual platform designed for spending enjoyable moments with friends, and one of its most appealing features is the ability to express your personality through avatars.
This guide provides a simple, step-by-step introduction to help beginners get started with using avatars! The guide is divided into the following sections:
Create your Avatar Easily - Avatar Maker
Want to Upload an Avatar but Find Modifications Too Challenging? Try Avatar Maker!
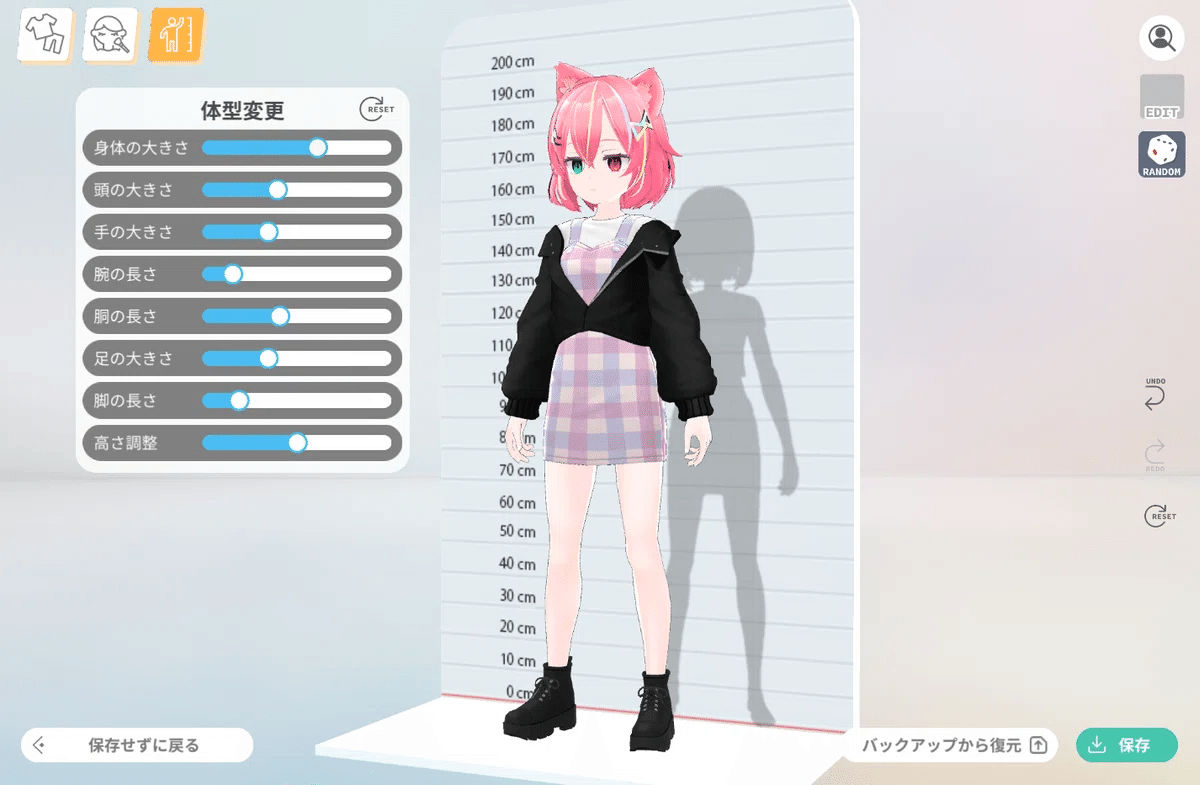
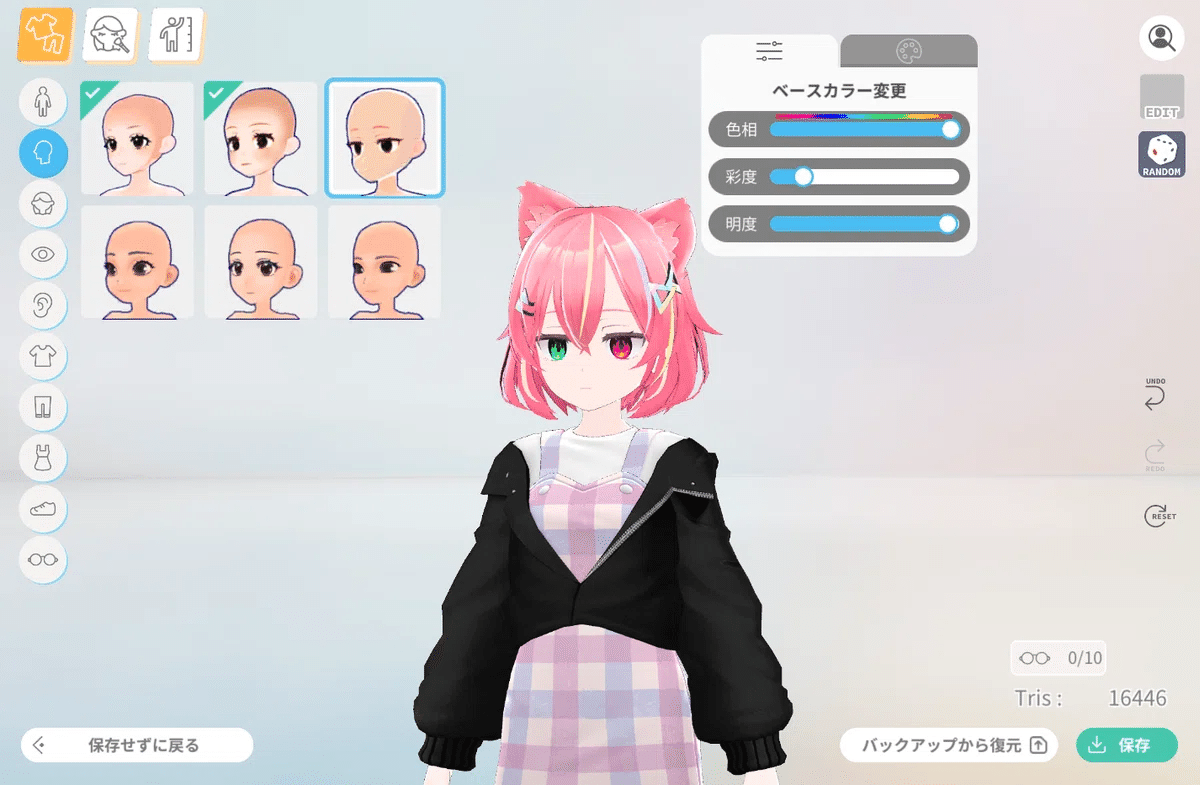
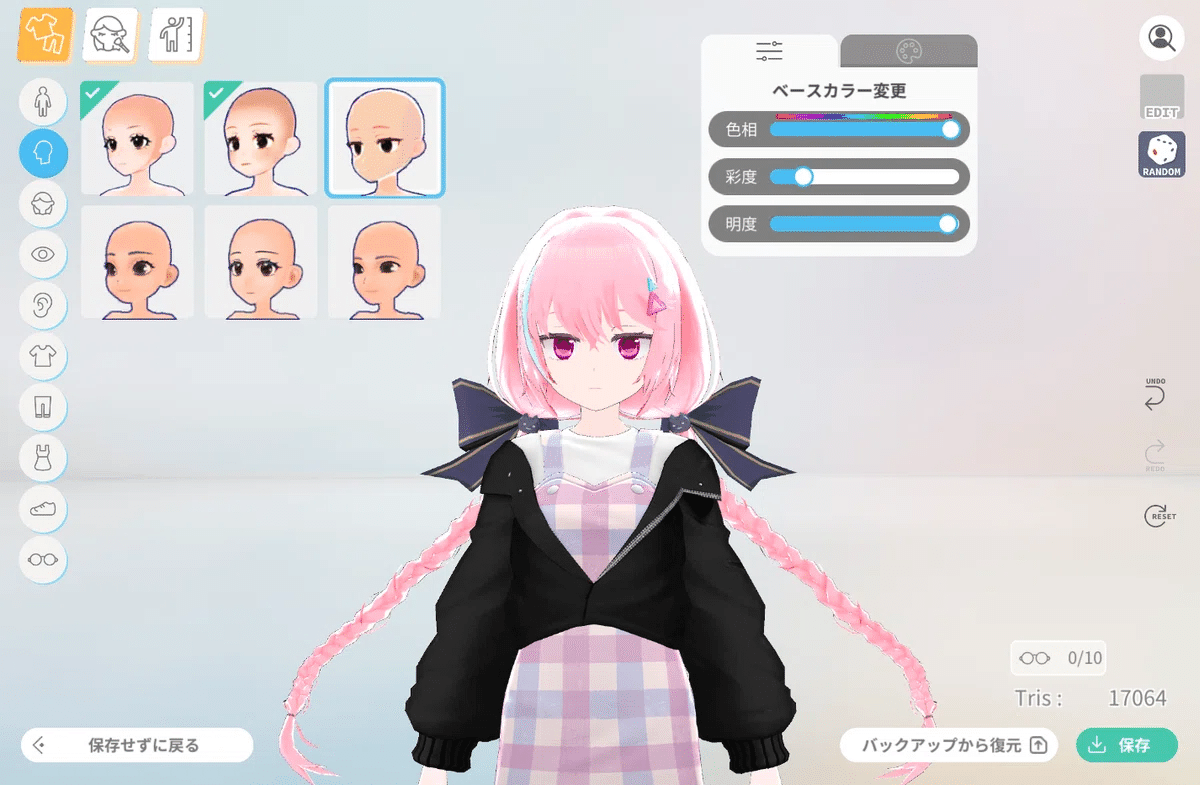
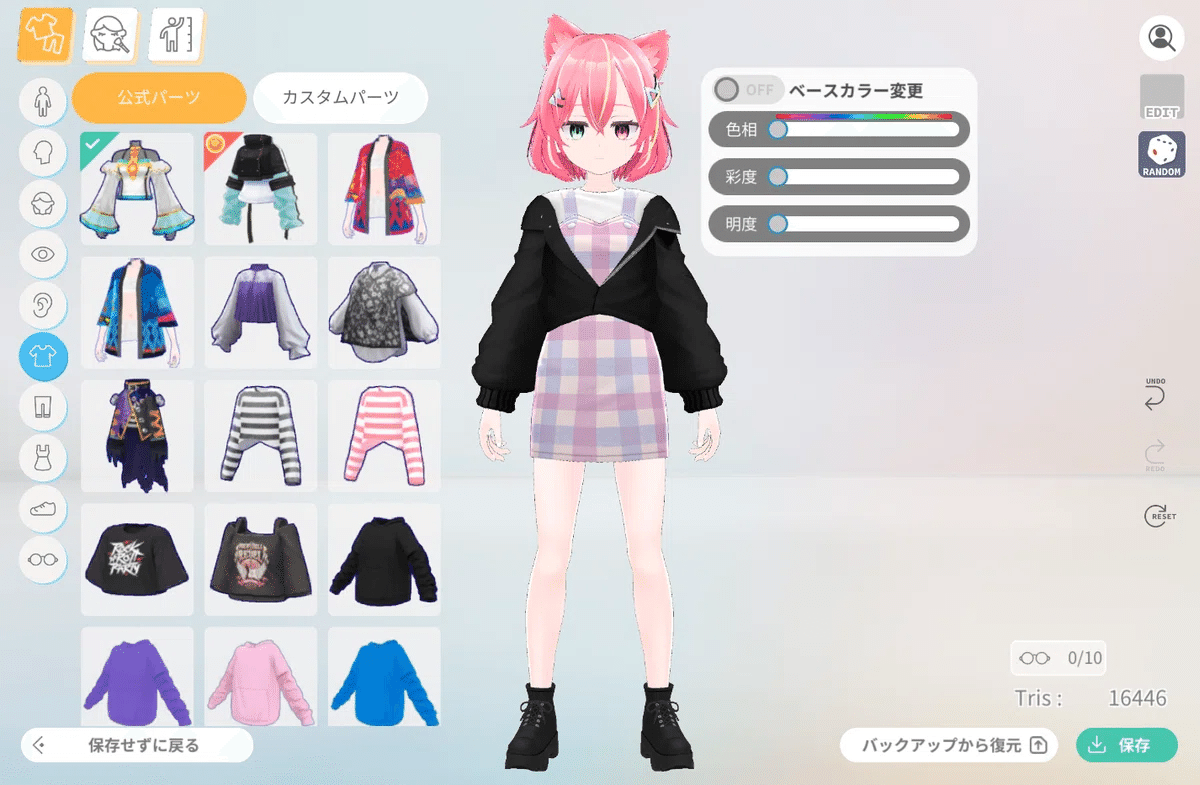
Easily Modify Your Avatar Just Like Creating a Character in a Game!
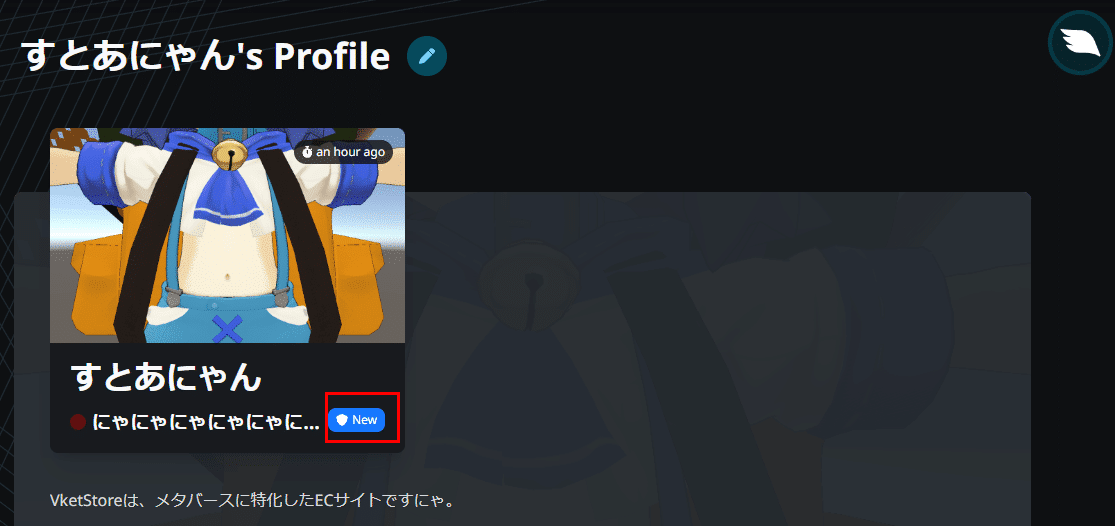
Check Your VRChat Trust Rank
VRChat Features Ranks Based on Playtime and Activity.
When you first start, your rank will be "Visitor." As you progress and rank up to "New User," you'll unlock the ability to upload custom avatars and worlds.
To check your rank, simply view your profile.
Installing Unity and Configuring the License
Uploading avatars to VRChat requires the installation of Unity, as well as the proper configuration of its license.
Installing Unity
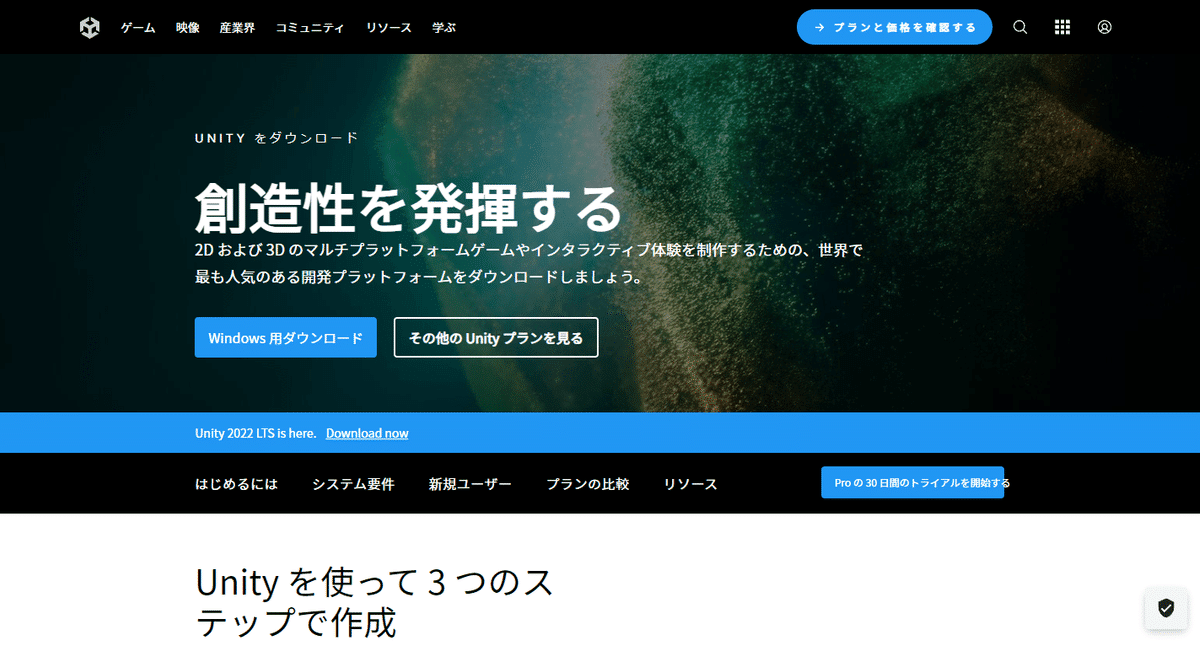
Download and install Unity Hub from the official website. Unity Hub is a useful tool for managing different versions of Unity.
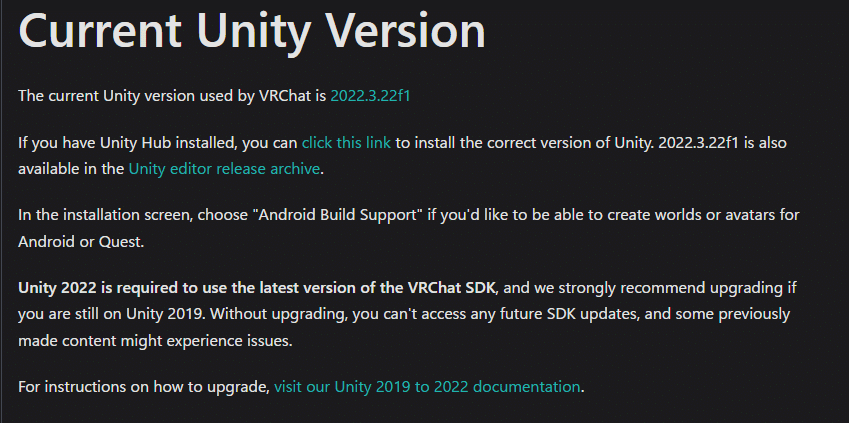
Check the officially supported Unity version for VRChat, and use Unity Hub to install it. The current supported version for VRChat is Unity 2022.3.22f1.
Configuring Your Unity License
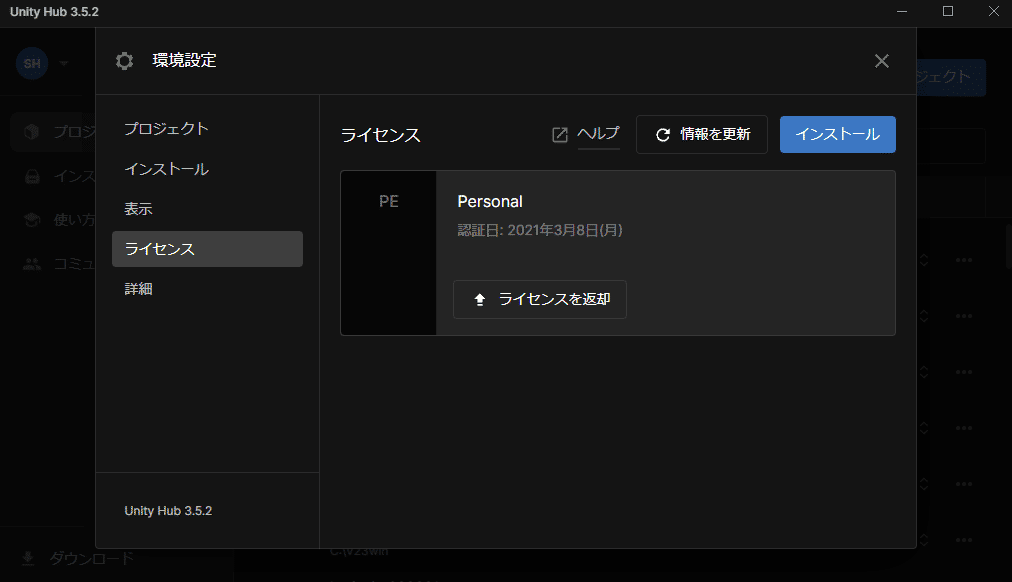
Launch Unity Hub and click "Licenses."
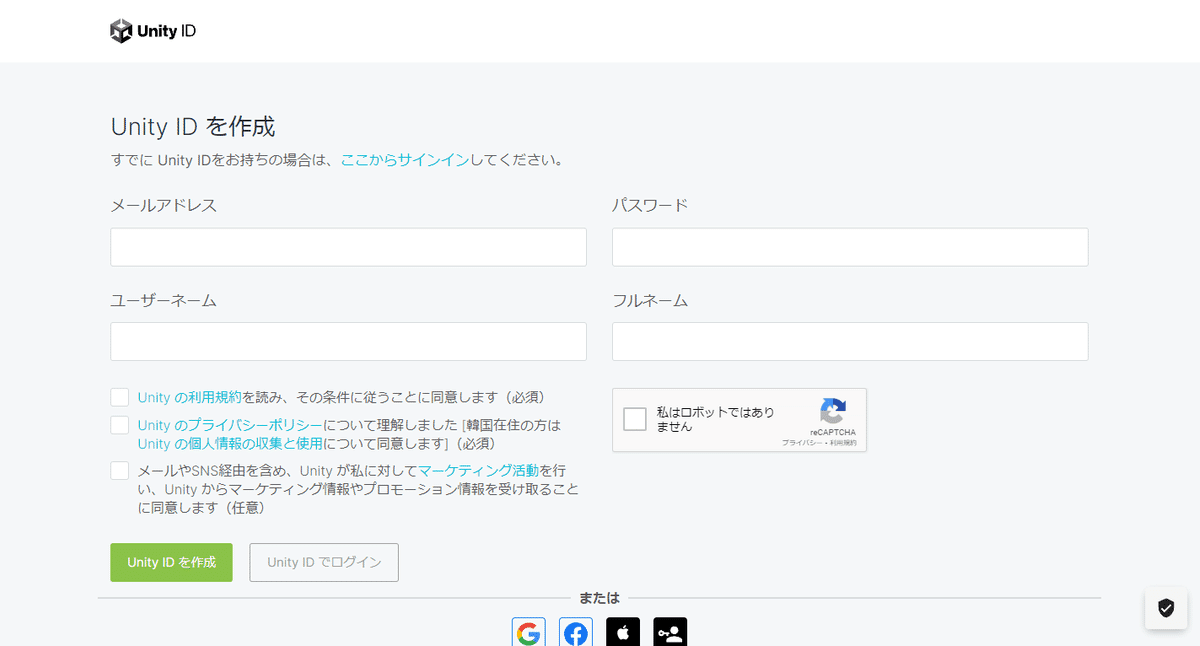
Sign in with your Unity account or create a new one.
Select "Get a free Personal License," provide the required information, and obtain your Personal License.
Downloading and Installing VCC (VRChat Creator Companion)
Next, download and set up VCC (VRChat Creator Companion) to upload your avatar to VRChat.
Downloading VCC
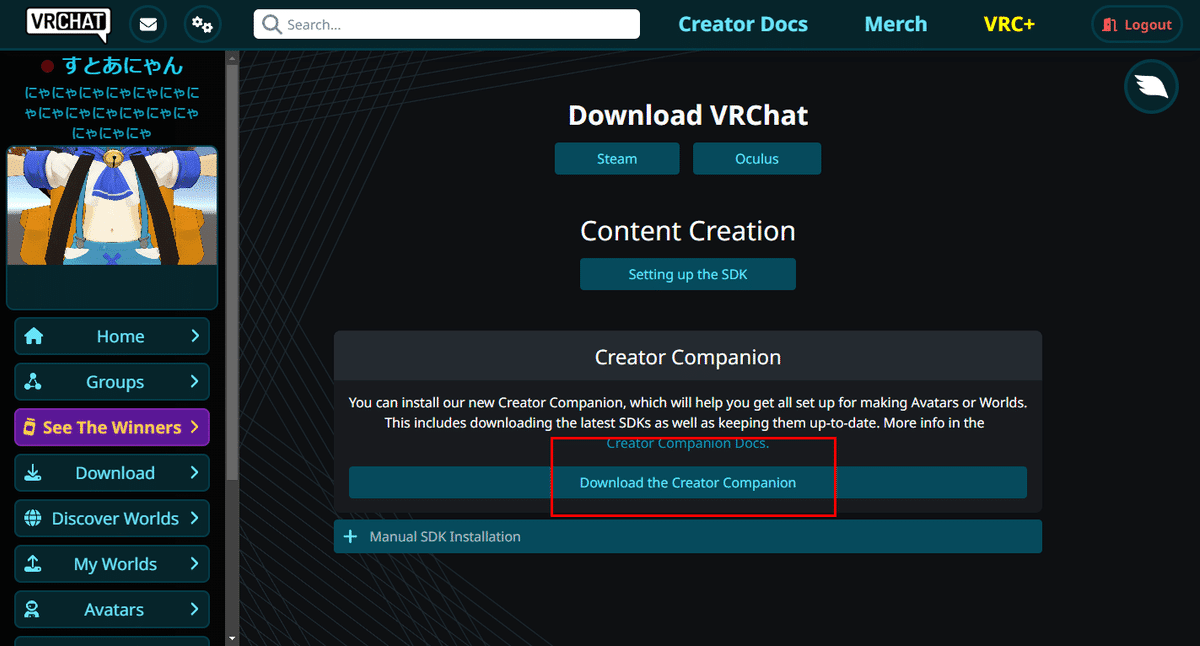
Download VCC (VRChat Creator Companion) from the official VRChat website.
Installing VCC
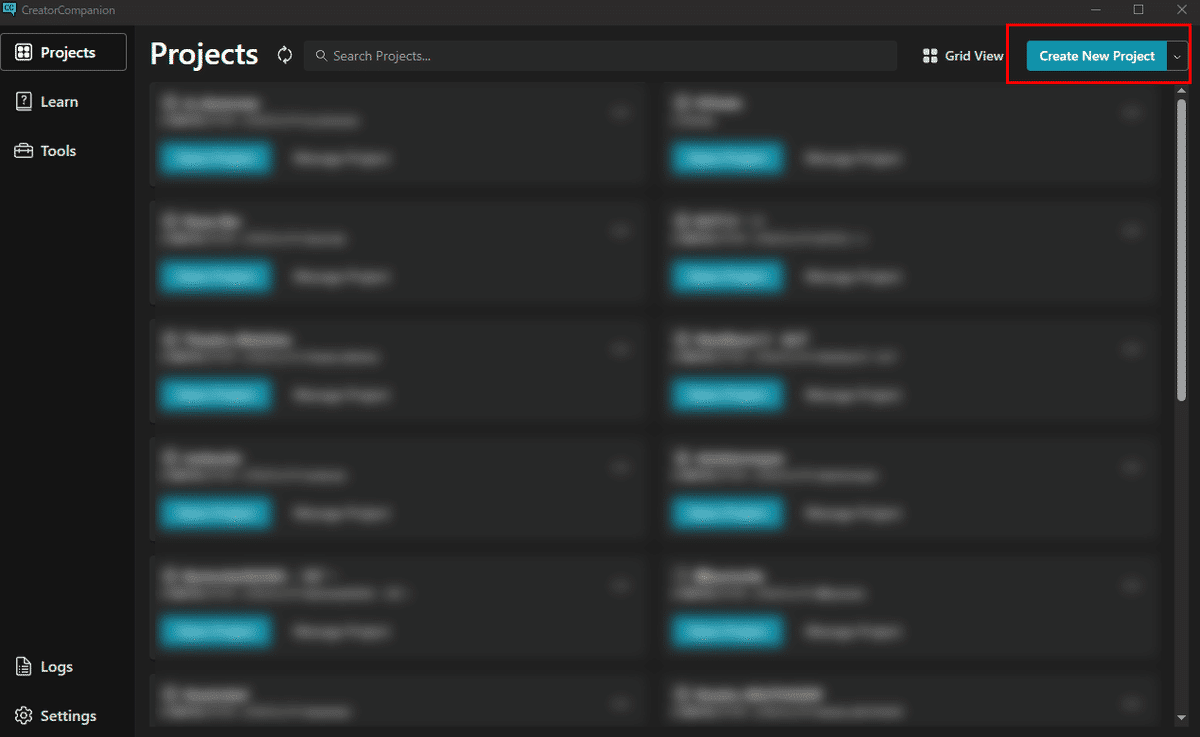
Open VCC, then set the Unity installation path. Follow any setup instructions that appear during the first launch.
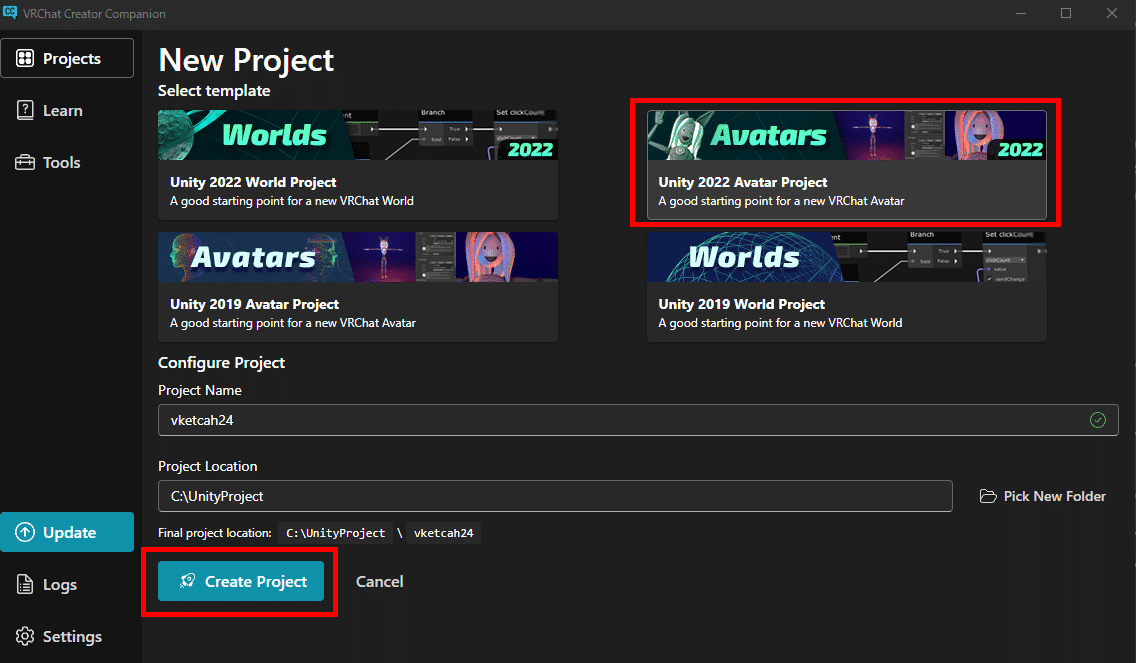
In VCC, create a new project by entering a project name and choosing a save location. Click Create Project to proceed.
Make sure to save the project in an easily accessible location for better management.
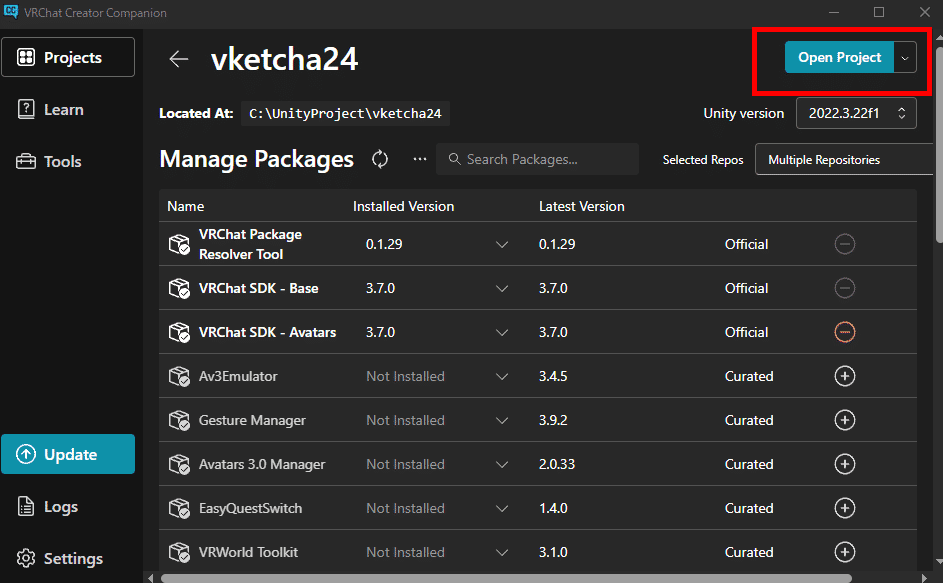
Click Open Project in the top-right corner to launch Unity.
Importing and Uploading an Avatar
Finally, import the avatar you created into Unity and upload it to VRChat. In this guide, we’ll use "VketChan 01" as an example for the upload process.
Importing an Avatar
Use the file Vketchan_v2.0.2.unitypackage.
In Unity, either double-click the Unity package file or drag and drop it into the Unity window to import the avatar.
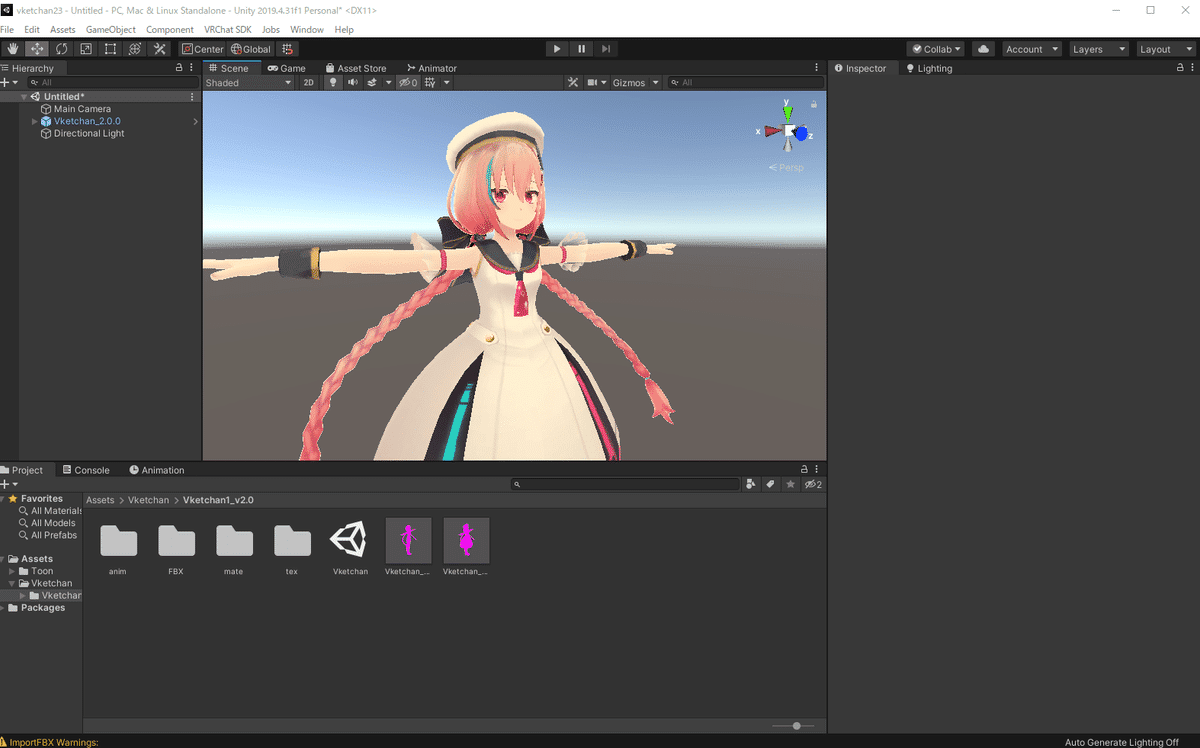
Import Image
When importing, ensure all required shaders and files are selected. If any are specified, make sure to include them during the import process.
Uploading an Avatar
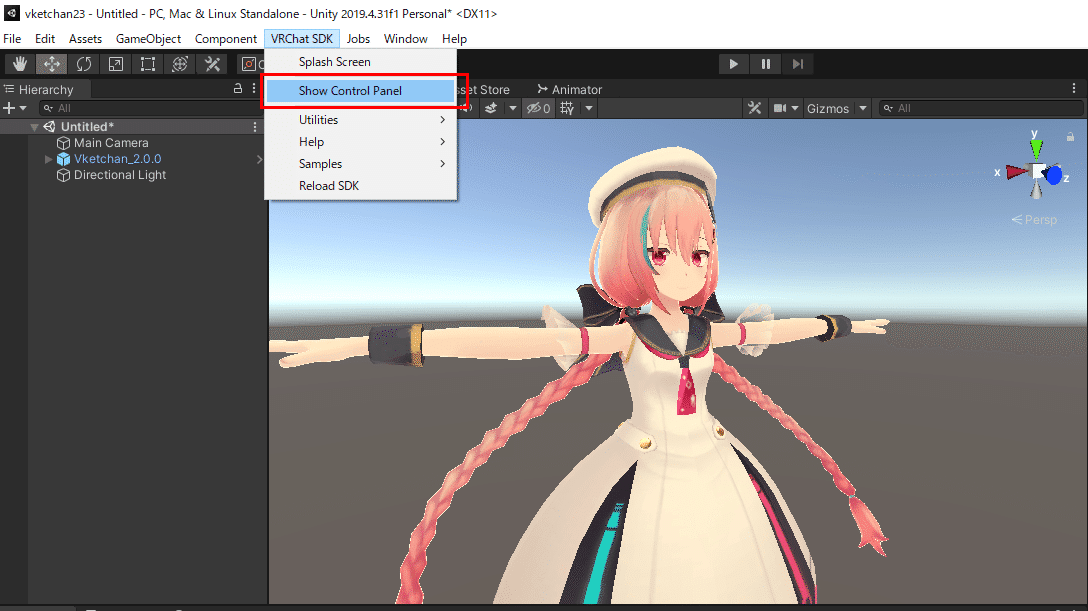
In Unity, open the VRChat SDK menu and select "Show Control Panel" to display the control panel.
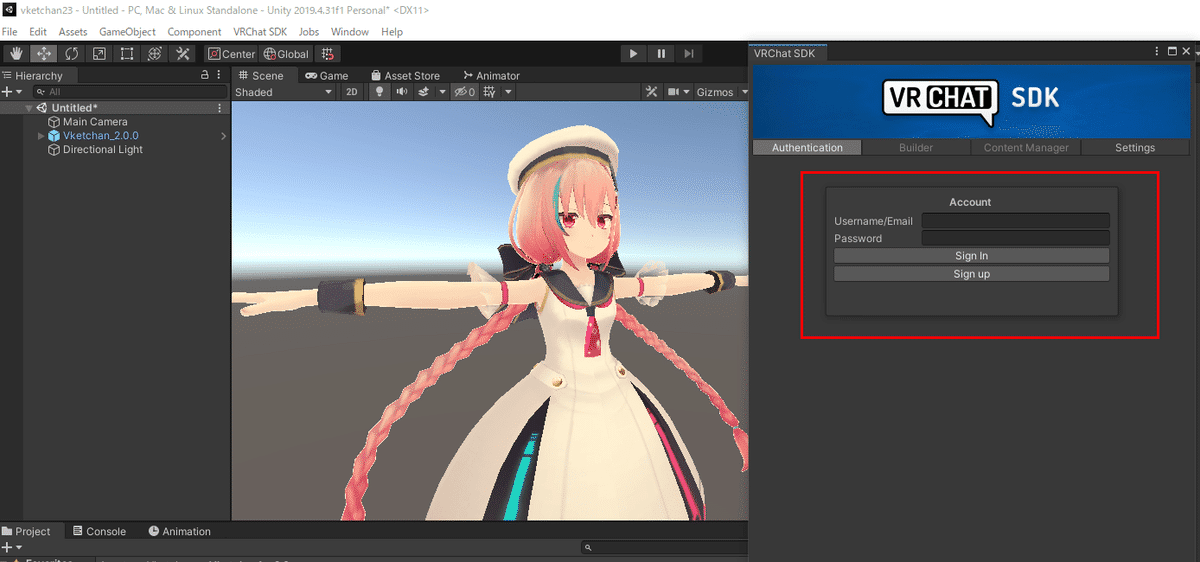
Sign-in with your VRChat account.
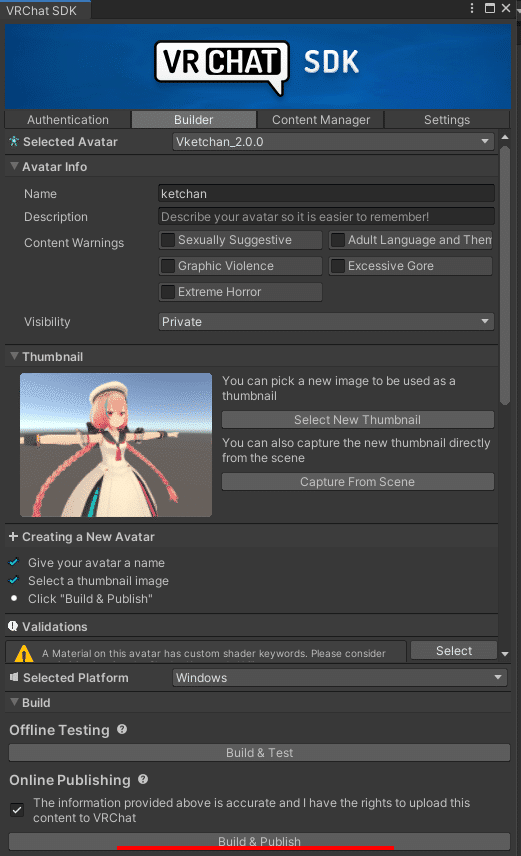
Give your avatar a name and start the upload process by selecting "Build & Publish for Windows".
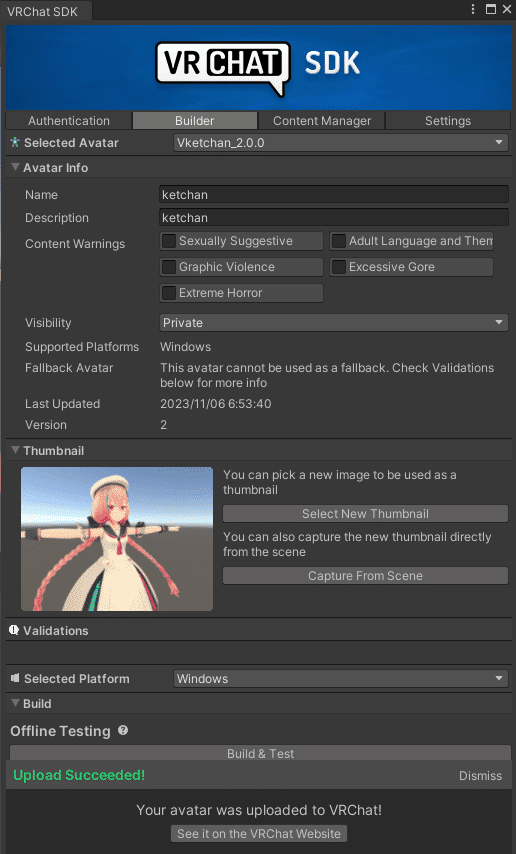
If "Upload Succeeded!" is displayed, your upload is complete!
After completing the upload, your avatar will be ready to use in VRChat. By following these steps, you can dive into the virtual world and enjoy exciting interactions with your friends!
Recommended Articles


