
[Avatar Maker] Create Your Original VketChan! Step-by-Step Guide to Using the Tool and Saving as VRM
On February 28, 2024, Avatar Maker received an update allowing users to create the iconic virtual market mascot, VketChan 01!
Not only can you create VketChan, but you can also customize it extensively to match your personal style, such as choosing your favorite color scheme. Enjoy making your very own unique and original VketChan!
This guide will walk you through creating your original VketChan step by step. Open Avatar Maker, follow along with this article, and start building your avatar!
🔶Creating VketChan (Basic Operations)
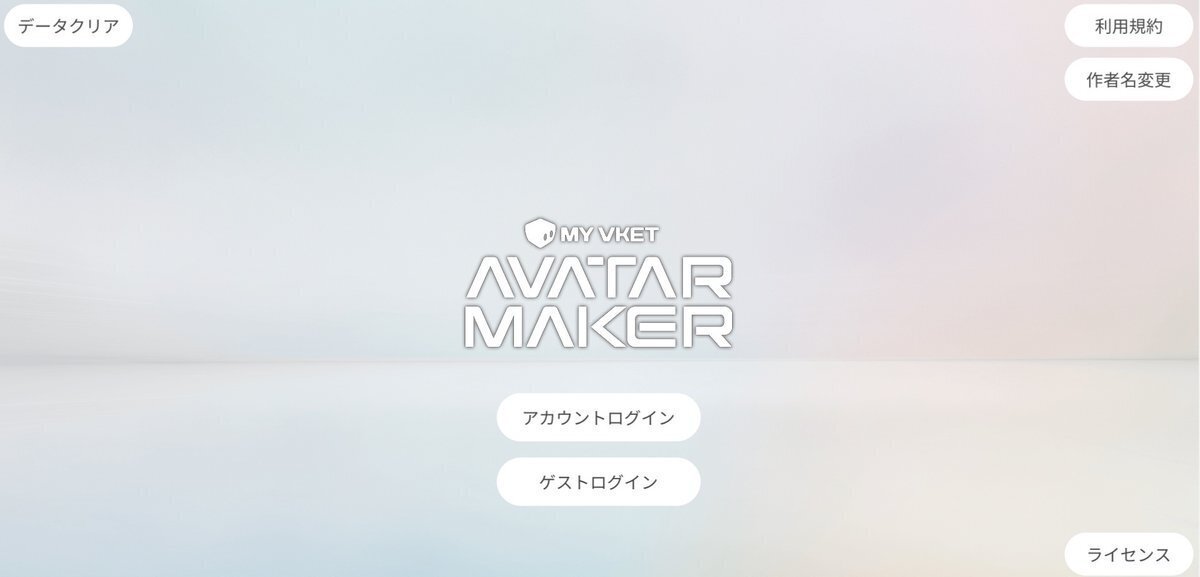
First, open the Avatar Maker and Login to your account.
Once loaded, click the "New Avatar" button to start your creation.

In the avatar editor, you can combine various parts like faces, hairstyles, and outfits to create your avatar.
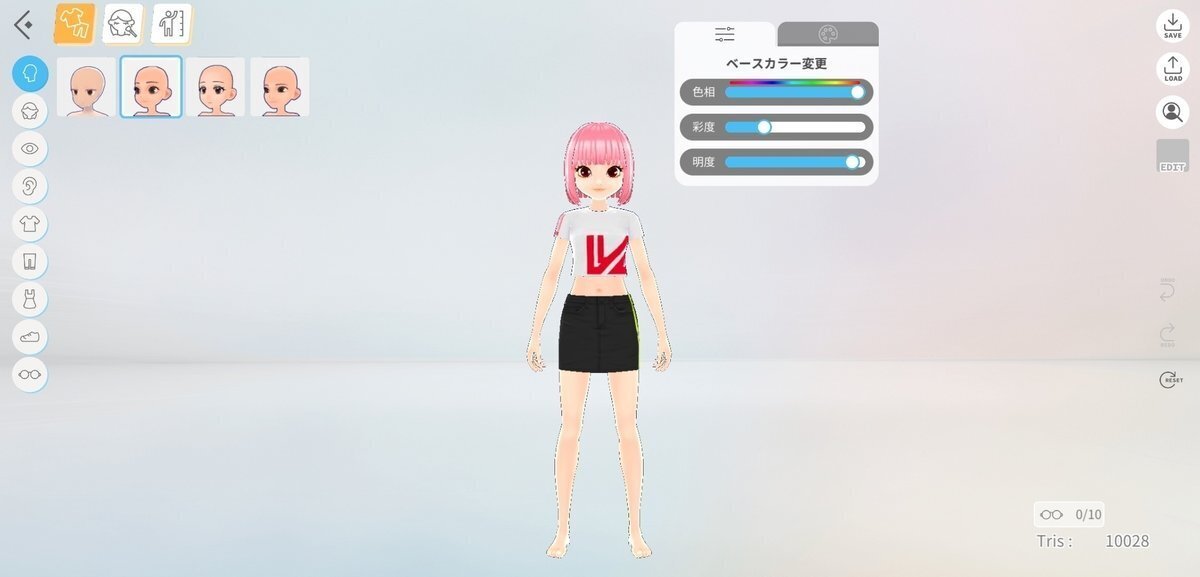
Use the tabs on the left side of the screen to navigate through the options for customizing your avatar.
🔷Choosing a Face
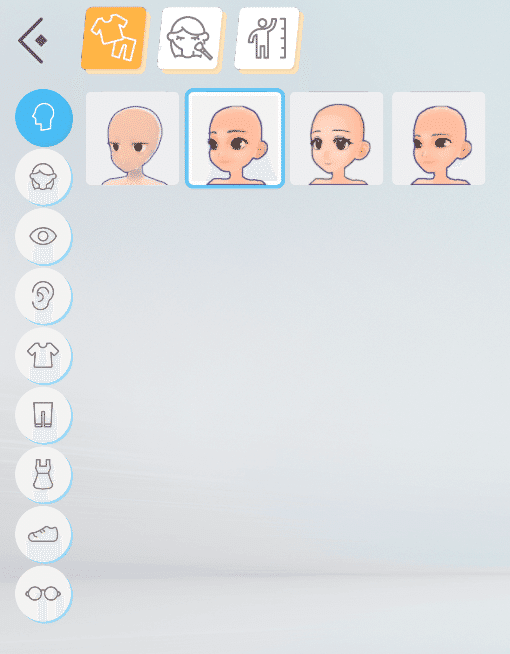
For this guide, we’ll choose the VketChan face to create a VketChan avatar.
🔹Selecting Hair Style and Color
Next, the avatar's hairstyle should be designated on the tab right below.
Go to the hair tab and choose a style of your choice.
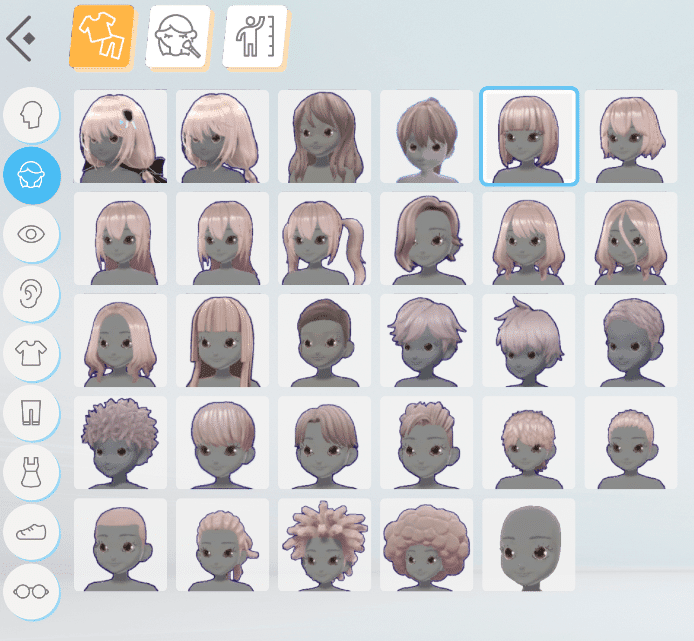
Currently, two styles are available for VketChan: one with a ribbon and one without. Select the one that best fits your style!

For this guide, we’ll use the ribbon hairstyle:
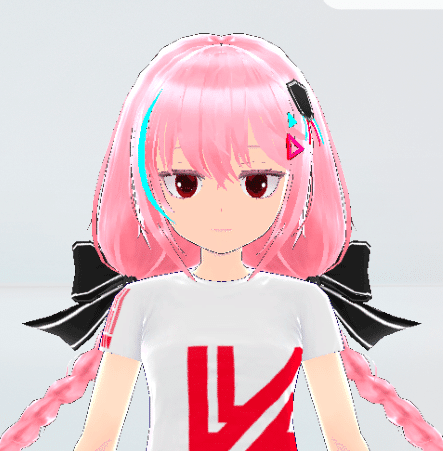
Once hairstyle is selected, customize the hair color using the window placed on the top-right of the avatar.
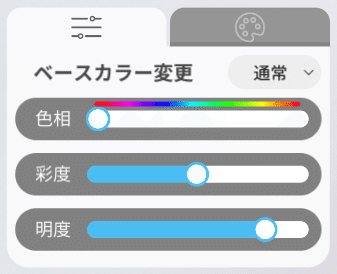
There are two ways to designate hair color.
One method is to adjust the color using the sliders:
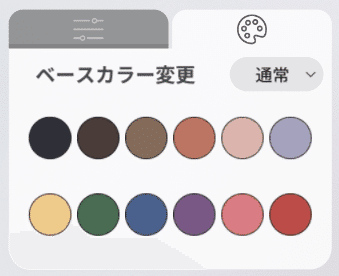
Another method is to select a color from the color palette!
This palette can be selected by switching tabs on the top of the window.
To create a gradient effect, change the dropdown labeled "Base Color Change" to "Type 1."
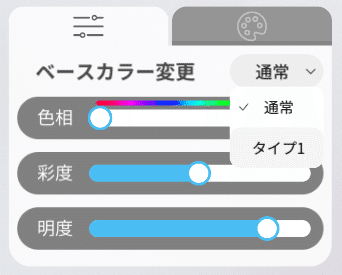
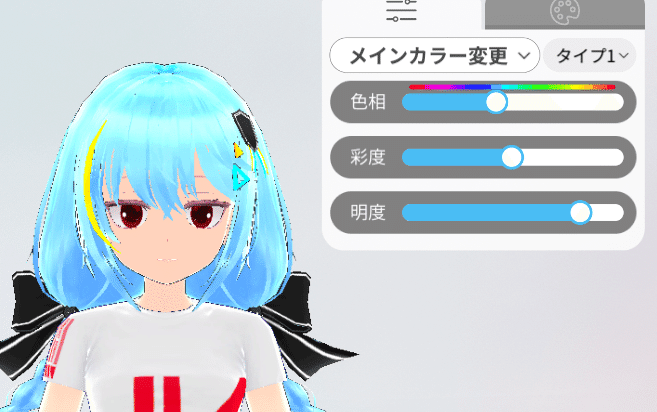
The hair color will become a gradient, so designate a primary hair color for the top of the hair using sliders or color palette.
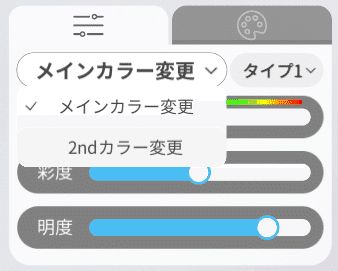
Next, designate a 2nd color / lower color by switching the pulldown to "2nd Color."
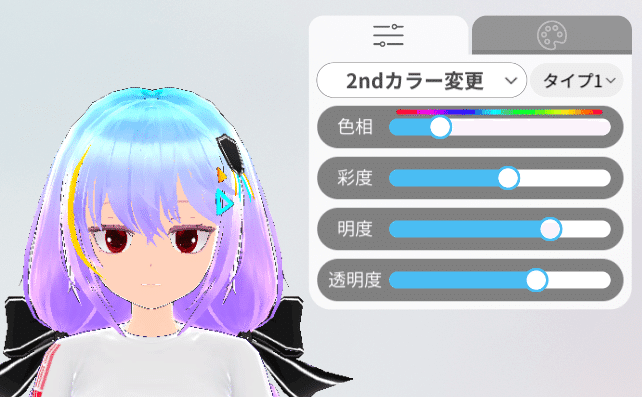
The 2nd color also has a transparency slider, which will add transparency for a layered look.
🔹Choosing Eyes
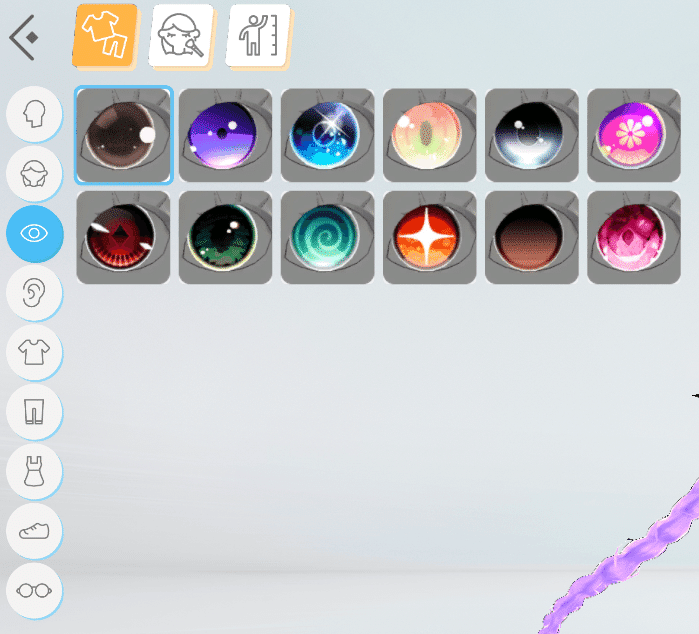
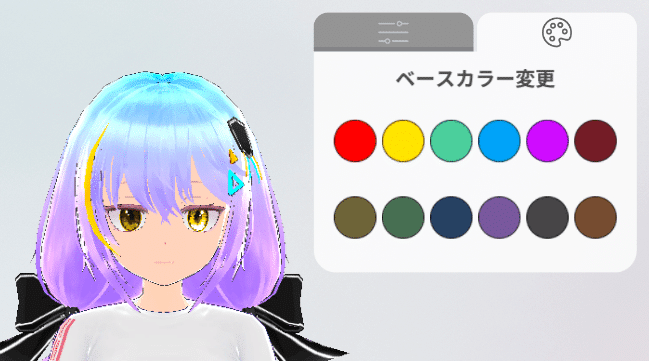
Move to the eye tab, select your favorite design, and adjust the color using sliders or the color palette.
🔹Customizing Ears
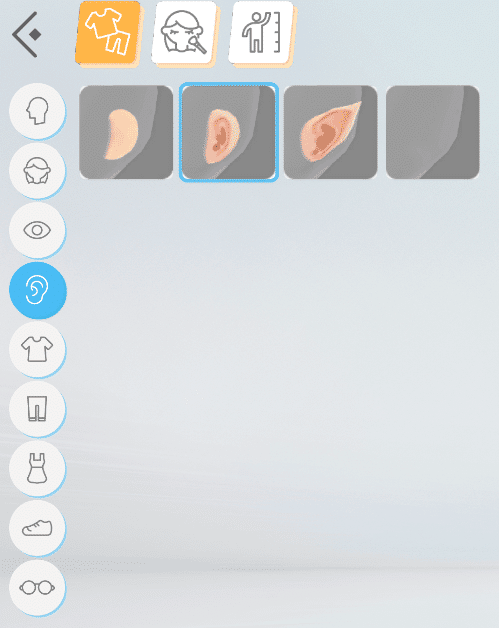
Select and customize the ears to match your design. You can even remove the ears entirely for a furry avatar-esque look.
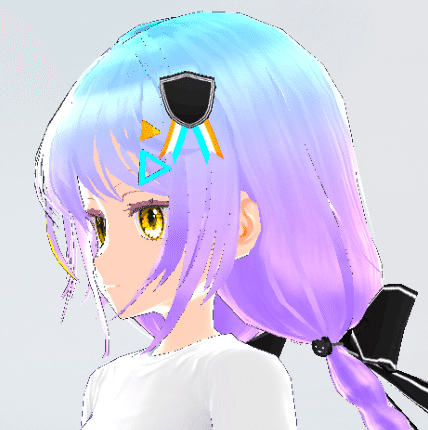
The VketChan hairstyle may cover ears a little bit, but any ears should match!
🔹Selecting Clothing and Changing Colors
In the clothing tab, choose an outfit matching the avatar's style.
Outfit colors can be changed, which will be explained shortly!
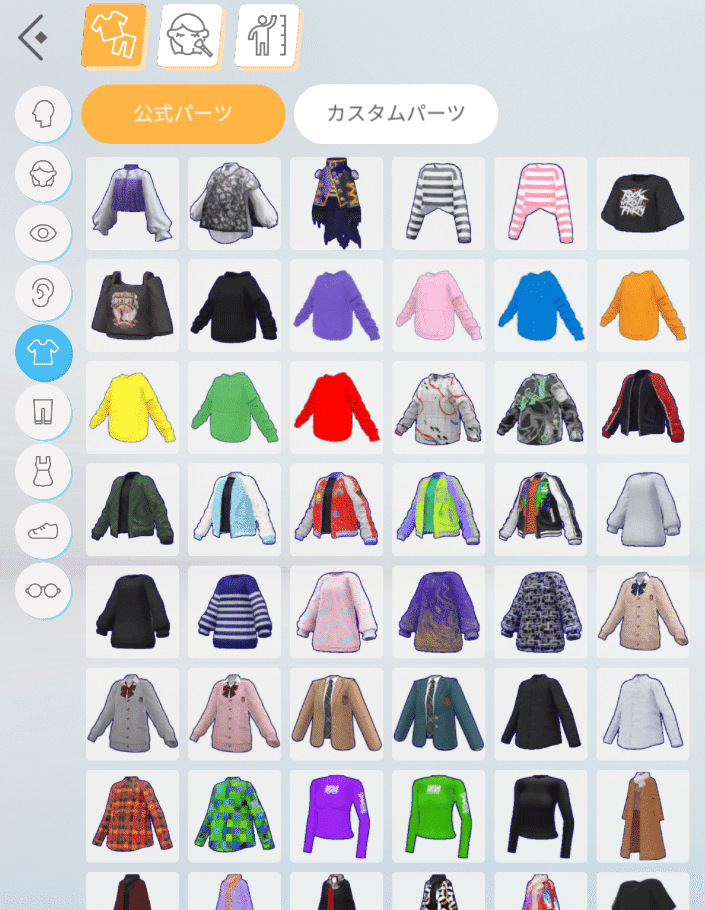
Choose an outfit and click the "Base Color Change" button at the top right.
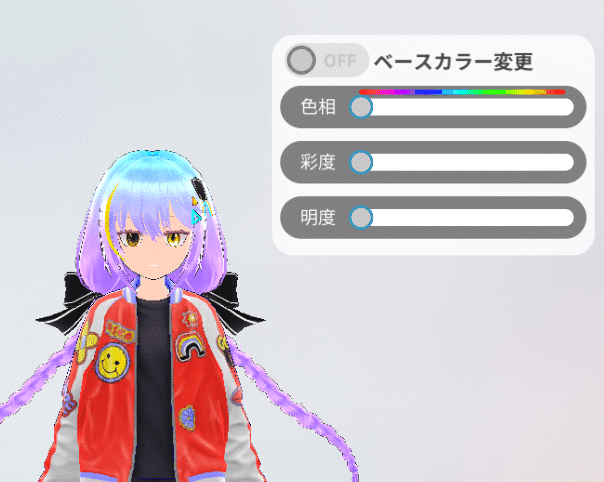
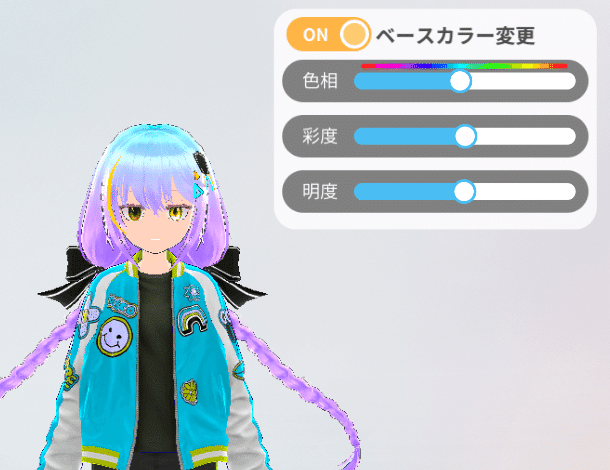
Adjust the sliders for hue, saturation, and brightness to create your ideal color.
For a personalized touch, use the "Custom Parts" option to upload your own textures and create custom outfits for your VketChan.

For instructions on how to create your original clothing texture, see the following article!
*Article in Japanese
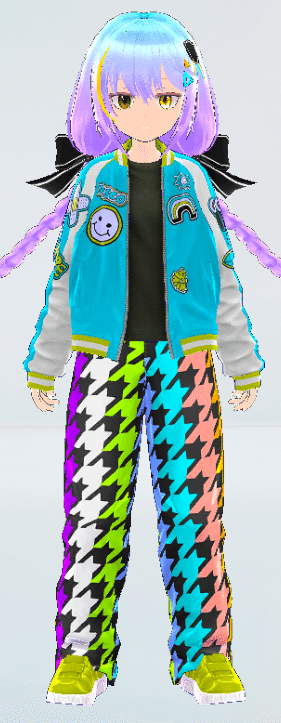
Select pants/skirts and shoes to create your own coordinate!
🔹Choosing Accessories and Adjusting Size/Color
Accessories can have colors and size changed to fit the avatar.
Select an accessory to begin customization.
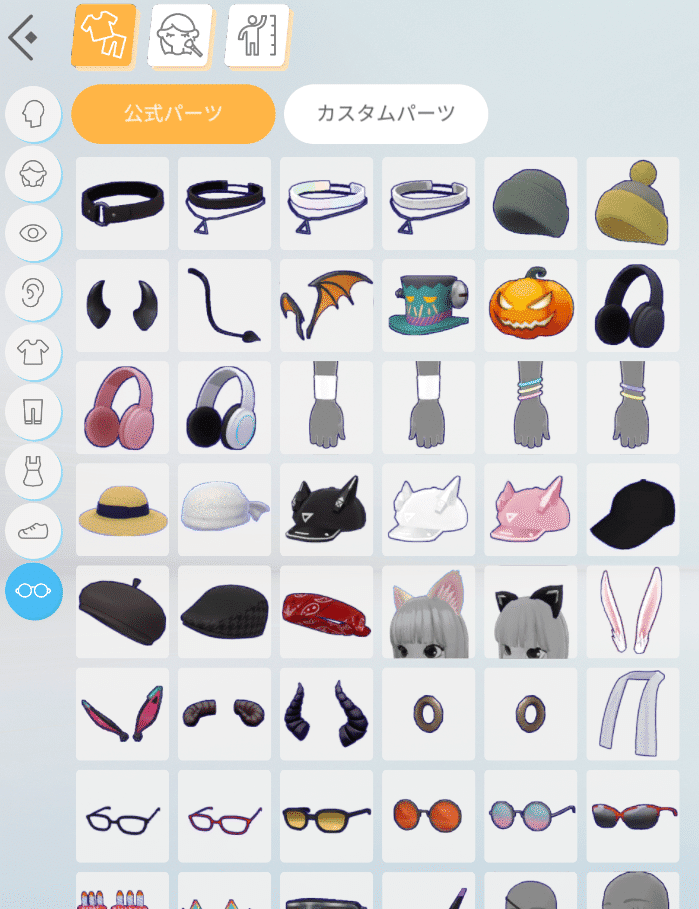
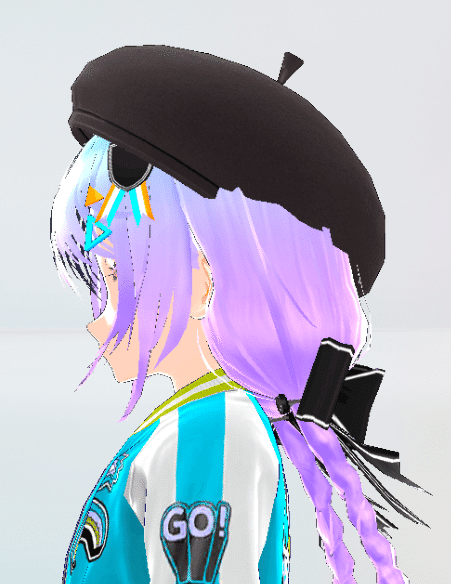
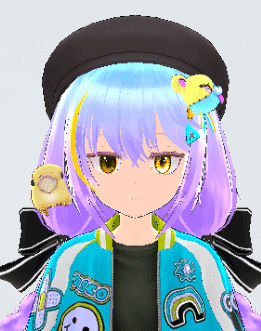
A beret hat is selected for this example, which is overlapping with the hair as below.
This can be adjusted by resizing the hat!
To resize, select the hat in the accessory list (frame is orange when selected),
And press the "edit" button located on the top right.

This will open the accessory edit screen.
The accessory's size, position, and rotation can be edited!
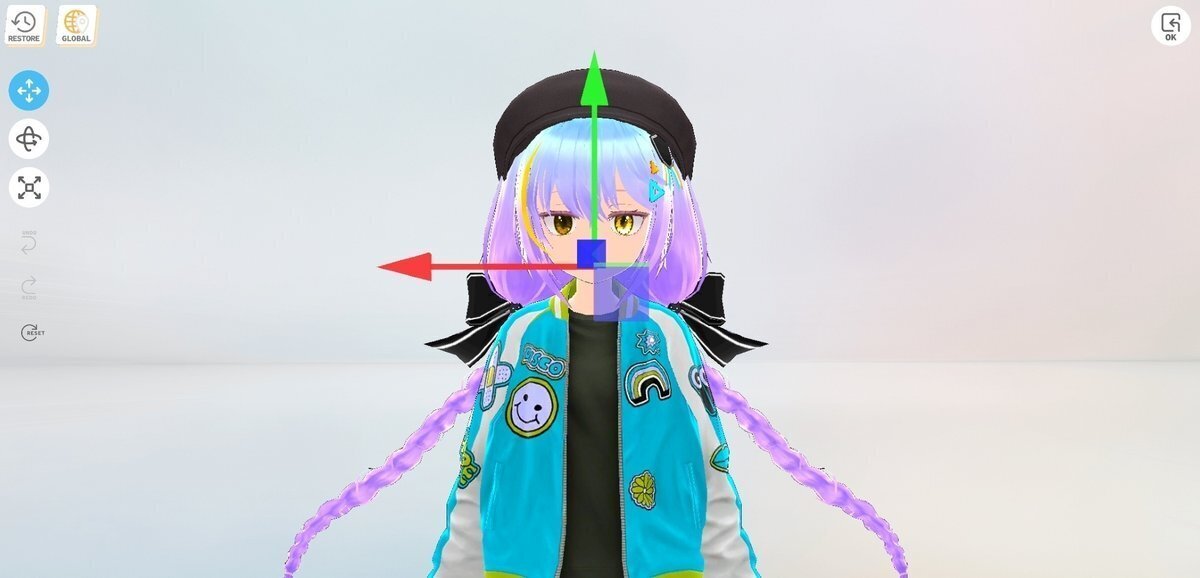
For instructions, see the following article!
*Article in Japanese
🔹Modifying Height and Body Shape
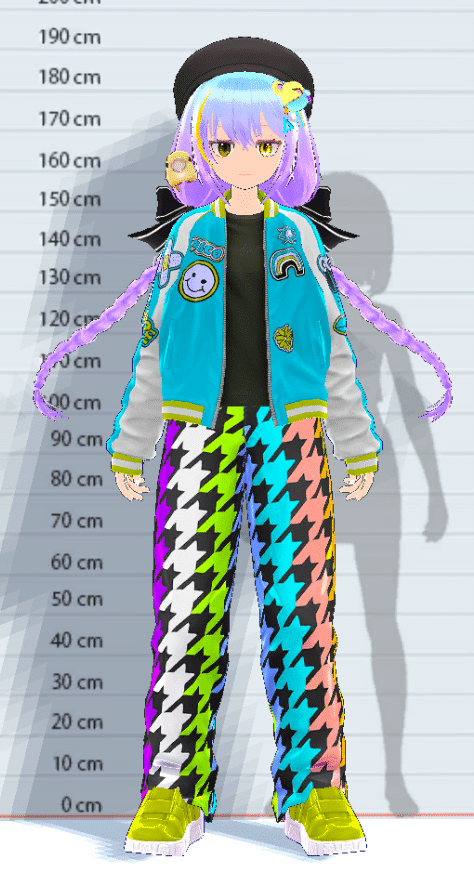
Once appearance is completed, move on to modify the height and body shape!
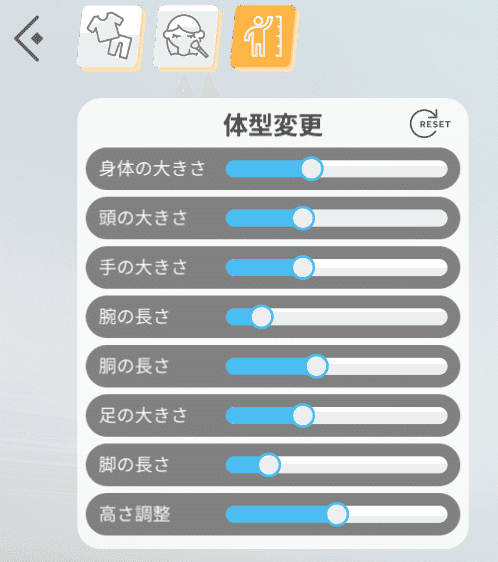
Head size, length of arms and legs, and height can be edited as below:
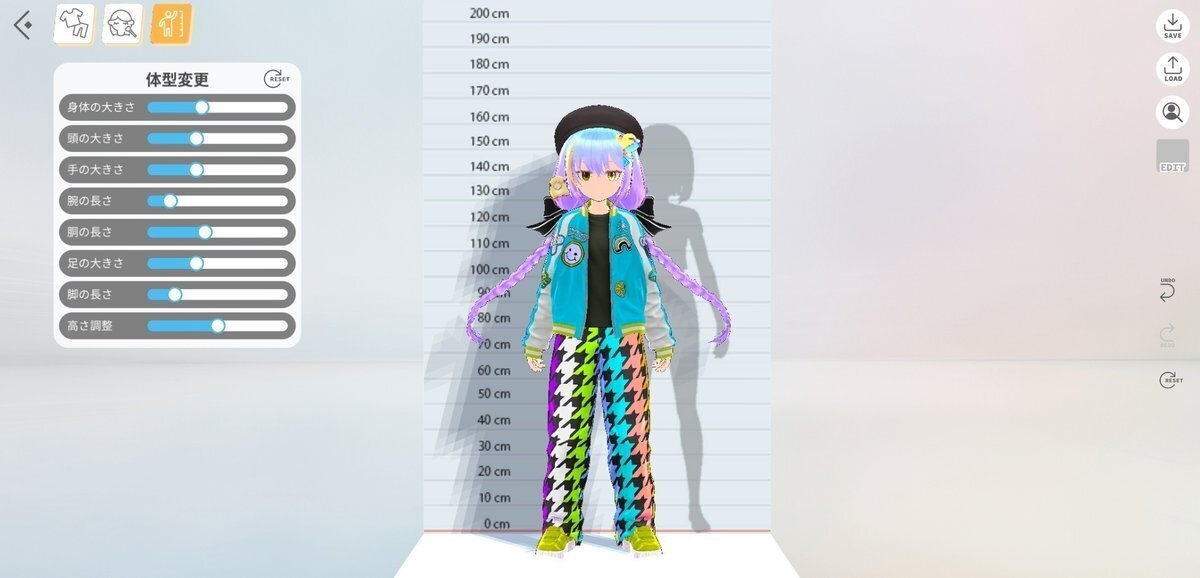
To start editing, click on the height icon button located on the top left.
This will open the body shape editing mode.
Sliders for each modification will appear… so have fun arranging!
For instructions, see the article below:
*Article in Japanese
🔶Taking Photos
Your avatar's photos can be taken in the Avatar Maker, which taken images will be saved automatically!
To begin taking photos, select the view mode button located on the right:

This button will open the view mode.
Adjust the background and facial expressions using the dropdown menus, then take photos using the camera button.
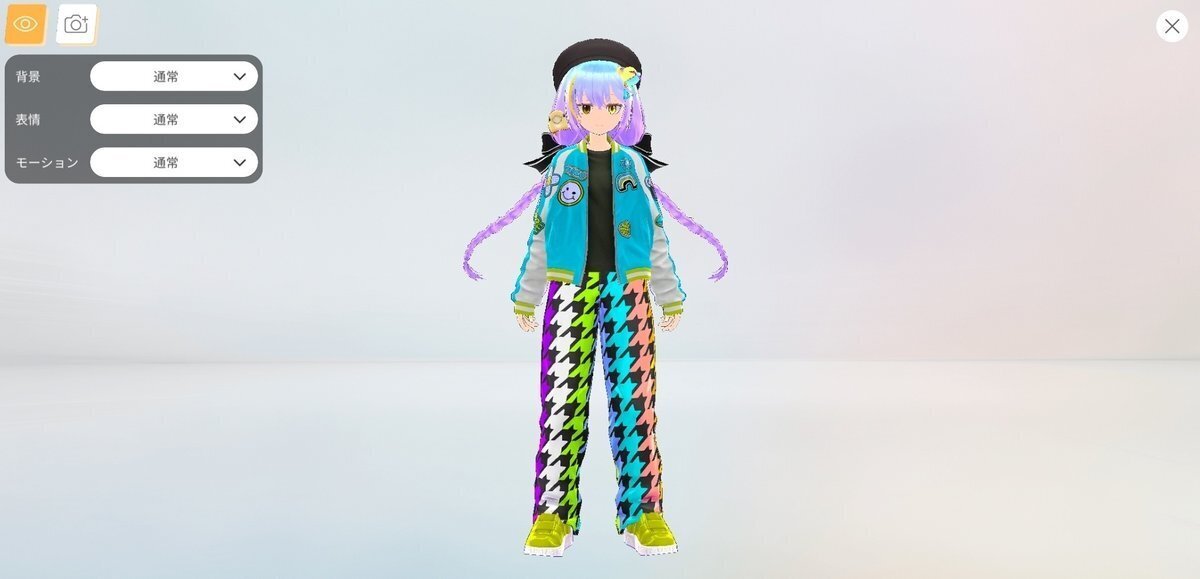
You can also save transparent background images, making it easy to share your avatar on social media!
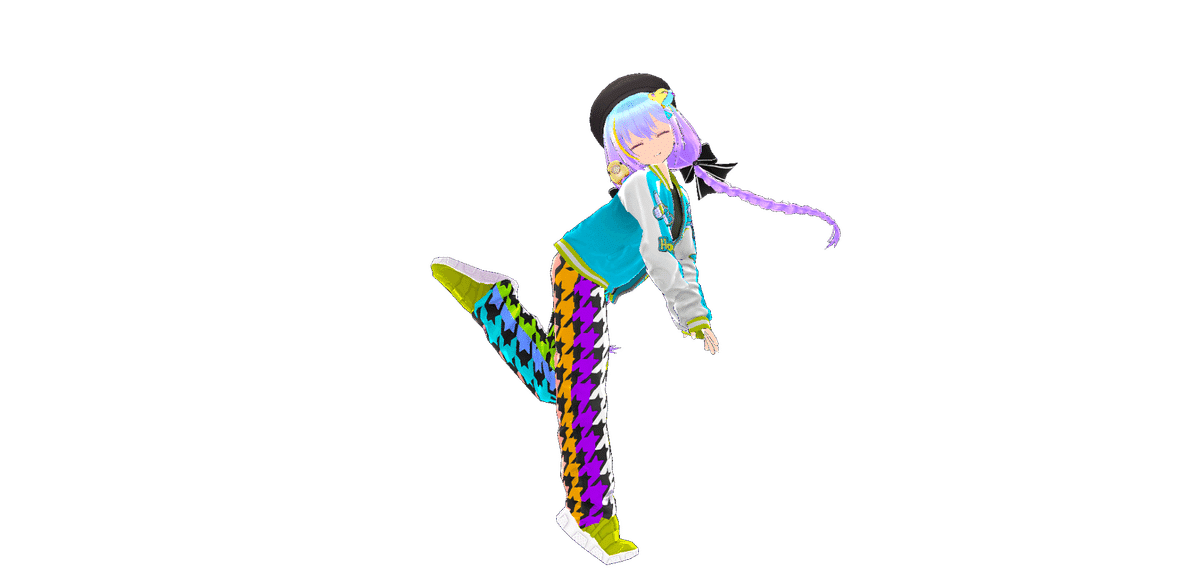
Once you've made a neat avatar… don't forget to share on social media using "#AvatarMaker"!
🔶Saving and Exporting Your Avatar
After creation, save your created avatar and export to My Vket worlds and other metaverse platforms!
Click the save button in the top-right corner to save your avatar.

After the save process is complete, the Avatar Maker will return to the avatar list page.
You may export your avatar data from this page:
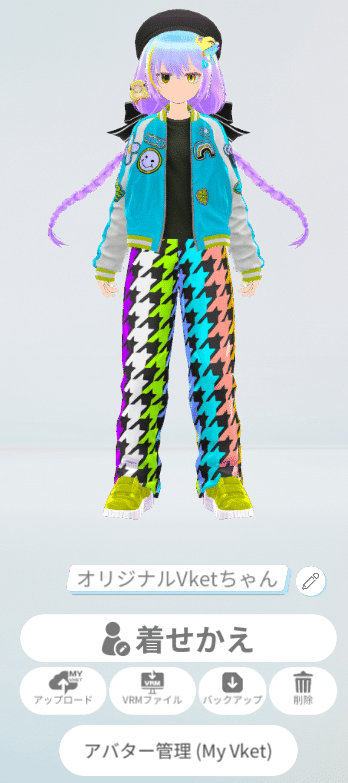
To use your avatar data in My Vket or Vket Cloud worlds, click on the "Upload" button.
After the upload process is complete, your avatar will be available for your personal use on My Vket and Vket Cloud worlds.

To export avatars as VRM data, click on the "VRM file" button.
This will automatically create and save a VRM data.

To secure your avatar data and export between devices, consider creating a backup using textdata files!
Avatar Maker will create a backup file by clicking the "Backup" button.

For instructions on how to use backup data, please see the following article:
*Article in Japanese
That’s all for our guide on creating your original VketChan, and saving it as a VRM file!
If you wish to export your created avatar, see the following article as well!
Have fun creating your own VketChan on the Avatar Maker!
Recommended Articles


